11 Hand-Lettering Warm-Up Exercises to Start Every Practice Session
Whether you're just starting out or you're a seasoned hand-lettering artist, warming up before you dive into a full piece is essential. Think of it like stretching before a workout. It gets your hand and mind in sync, helps you loosen up, and dramatically improves the quality of your lettering over time.
In this guide, you'll find 11 warm-up exercises that you can use to jumpstart any hand-lettering session. These drills are simple, effective, and take just a few minutes, but they make a big difference in how your letters look and feel.
Tap to jump to a topic:
Don’t forget to grab the FREE download too!
Why You Should Warm Up Before Lettering
Hand-lettering is part art, part muscle memory. When you practice intentional warm-ups regularly, you train your hand to create smoother lines, consistent strokes, and better spacing, without having to think too hard about it.
Warm-ups help:
Loosen your wrist and fingers
Improve line consistency
Build control over pen pressure
Transition your brain into a creative, focused space
Even just 5–10 minutes can set the tone for a better, more enjoyable lettering session.
What Makes a Great Hand-Lettering Warm-Up Exercise?
Not every practice needs to be a project. The best warm-up exercises:
Are short and repeatable
Focus on basic shapes and foundational strokes
Help reinforce good habits (like consistent pressure and spacing)
Can be mixed and matched depending on your style or goals
Now, let’s jump into the exercises.
11 Hand-Lettering Warm-Up Exercises
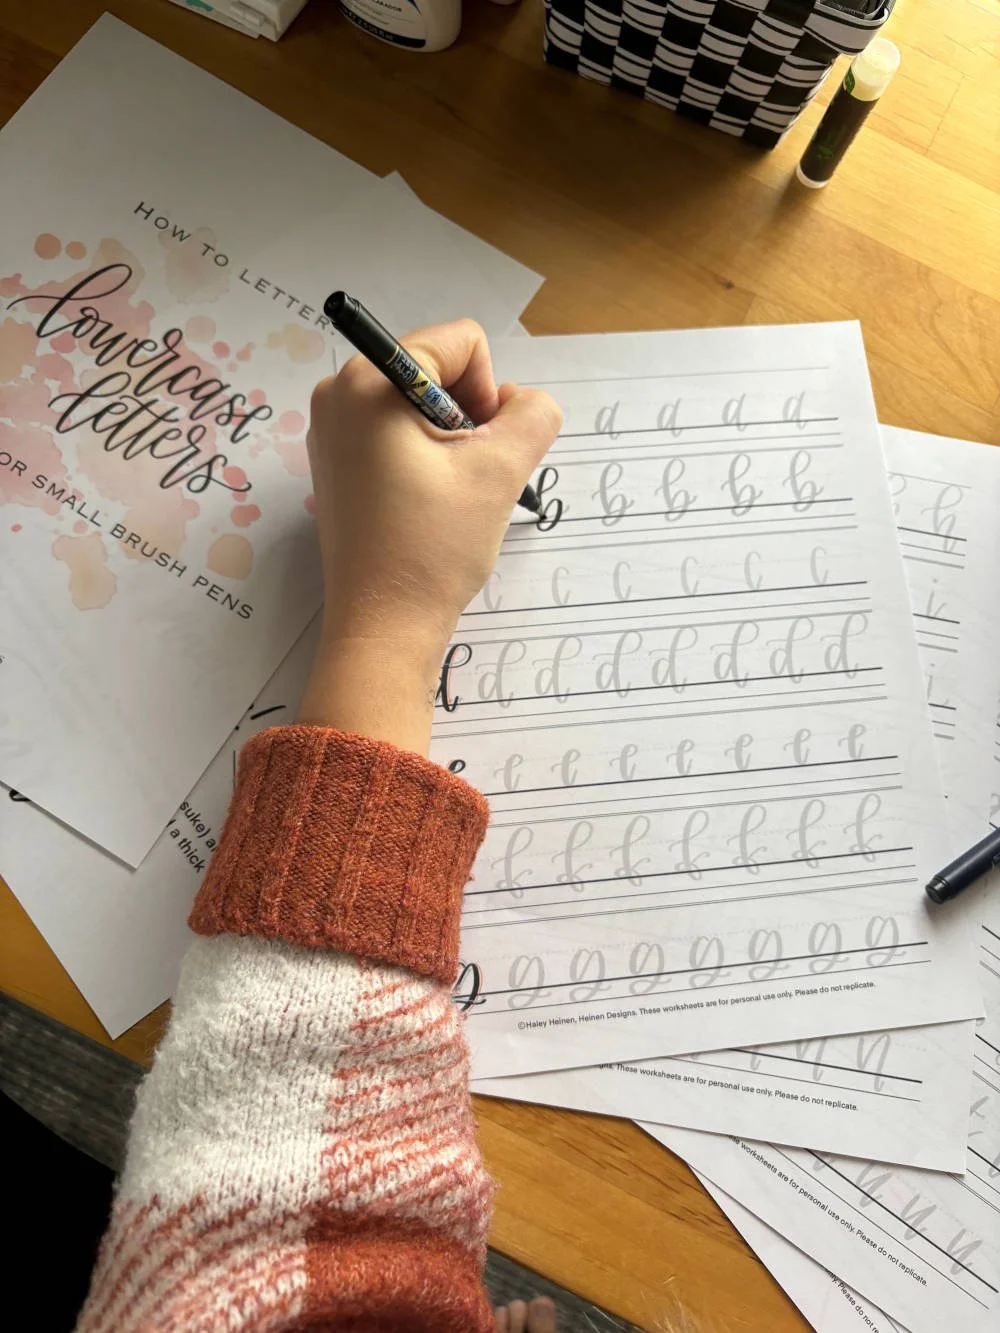
Try these drills before every session. You can do them on a blank sheet, in your sketchbook, or on a reusable practice sheet (scroll to the bottom for a free download!).
1. Exercise Basic Upstrokes & Downstrokes
The Exercise: Practice light, thin upstrokes and firm, thick downstrokes in parallel lines. This is the foundation of modern brush lettering.
Purpose: Build pressure control and stroke consistency
The cornerstone of brush lettering is understanding the difference between upstrokes and downstrokes. This drill is simple but powerful: draw alternating thin upstrokes and thick downstrokes in parallel rows across your page. The goal is to practice pressure control, applying light pressure for upward movement and firm pressure when moving down.
Go slow and steady, focusing on consistency rather than speed. If your lines wobble at first, that’s okay. Over time, you’ll notice smoother transitions and better control. This drill helps warm up your hand and mind for more complex letterforms.
Tip: Keep your strokes slow and intentional — this is about control, not speed.
2. Exercise Consistent Line Widths
The Exercise: Draw rows of thick downstrokes, trying to make each line exactly the same width. Then, do the same for thin upstrokes. The goal is evenness.
Purpose: Improve control over your pen’s pressure range
This exercise zeroes in on control and uniformity. Using your brush pen or favorite lettering tool, draw rows of lines with the same pressure level, either all thick downstrokes or all thin upstrokes. Try to keep each line the same width and length.
This helps you internalize how much pressure you need to apply to maintain even line weight, which is essential for creating polished-looking letters. If your strokes vary in thickness, don’t get discouraged — consistency comes with repetition, and this drill will speed up that process.
3. Exercise Oval Shapes & Circles
The Exercise: Draw ovals and circles repeatedly — like the letter "o" — to practice smooth curves and closed shapes. These strokes show up constantly in script styles.
Purpose: Refine your curves and build rhythm
Many letters — like “o,” “a,” “c,” and even “d” — are built on oval or circular forms, so mastering these shapes is crucial.
Start by drawing rows of ovals, focusing on maintaining a smooth, continuous curve. Keep the size consistent from one to the next. Then, practice more traditional circles and experiment with different sizes.
Don’t worry if they’re not perfect at first. This drill trains your hand to create natural curves and closed shapes, which will make your overall lettering more balanced and refined.
4. Exercise Overlapping Loops
The Exercise: Make loops that overlap like a chain (think cursive "l" or "e" shapes). Focus on even loops and rhythm in your motion.
Purpose: Build fluid motion and spacing awareness
Loops help build flow and rhythm in hand-lettering, especially in script or cursive styles. To practice, create rows of loops that connect and overlap, like a chain of lowercase “e” or “l” shapes. Try keeping them evenly spaced and sized. As you repeat the motion, you’ll develop a smoother, more fluid movement through your wrist and fingers.
This is a great drill for improving spacing awareness, too, as it forces you to be mindful of how your strokes interact with each other in a continuous motion.
5. Exercise Waves & Hills
The Exercise: Create “hill” shapes across the page, like the letter “n” or “m” humps. Then, alternate into “wave” shapes. This trains fluid motion and spacing between strokes.
Purpose: Strengthen your transitions and curve flow
This hand-lettering exercise mimics the natural shapes found in letters like “n,” “m,” “u,” and “w.” Begin by drawing a series of hump-like curves (or “hills”) across your page. Focus on making each one consistent in height and width. Then, add “waves” by connecting them in a flowing line, alternating between up and down strokes.
This drill helps develop muscle memory for common lettering shapes, and also improves your ability to maintain rhythm and spacing — two things that can make or break your hand-lettering composition.
6. Exercise Crossbars & Horizontal Lines
The Exercise: Draw parallel lines across the page, keeping them straight and evenly spaced. Then practice them at different angles for stylized work.
Purpose: Master short, consistent strokes for letters like "t", "e", and "f"
Horizontal lines often get overlooked, but they show up all the time, in letters like “t,” “e,” “f,” and “A.” In this drill, draw short horizontal lines repeatedly, working on keeping them straight and even. Try placing them at different heights or angles to mimic how they might appear in different letterforms or stylized pieces.
You can also alternate line thickness to practice pressure control on shorter strokes. It might seem simple, but mastering the basics of crossbars will elevate the precision of your entire alphabet.
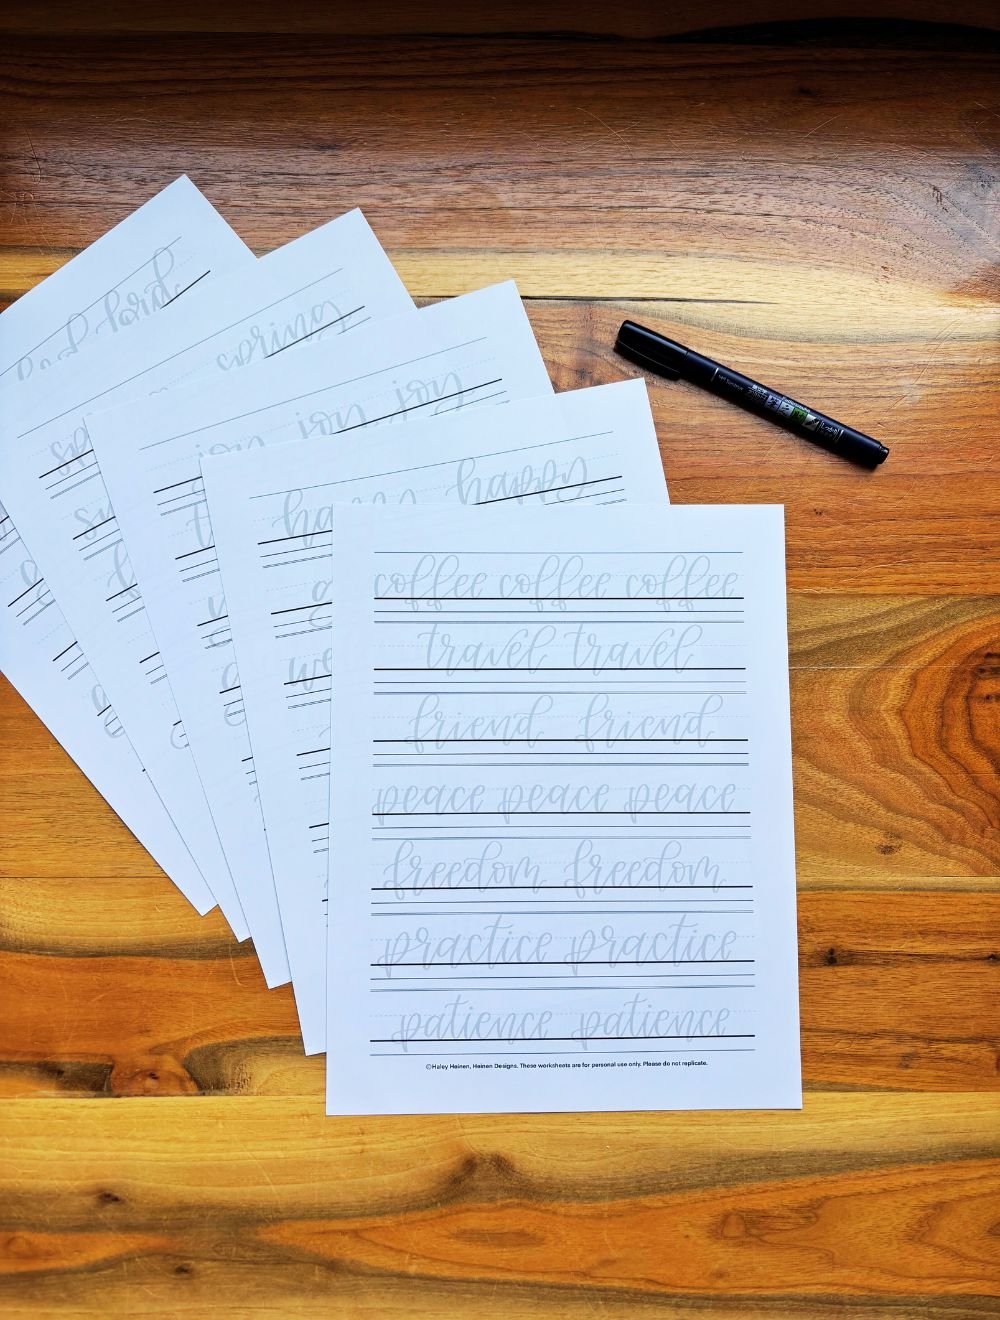
7. Exercise Letter Connectors
The Exercise: Choose two or three letters (like "a" to "l", or "c" to "e") and repeat the transitions. Focus on keeping the joins fluid and natural.
Purpose: Practice smooth transitions between letters
Smooth transitions between letters are a hallmark of polished hand-lettering. This exercise focuses on just that. Pick two or three letters (like “o” and “n” or “r” and “i”) and repeat them in connected pairs across your page.
The goal is to make the connection feel seamless, not like two separate letters glued together. Pay close attention to the angle, stroke direction, and the spacing between each letter.
Practicing these connectors strengthens your understanding of rhythm and cohesion, which will pay off when you're creating longer words or phrases.
8. Exercise Slow vs. Fast Stroke Control
The Exercise: Draw a line slowly, then draw the same shape quickly next to it. Compare the two. This helps build awareness of control vs. flow, and balance both.
Purpose: Train both control and flow
This is a great awareness drill that helps you understand how your speed affects the quality of your lines. Start by drawing a basic stroke or shape — like an “l” or an oval — very slowly, with complete control. Then, draw the same shape again, but faster. Compare the results.
You’ll notice that speed can introduce shakiness or loss of control, but it can also help create more natural, dynamic flow. The goal isn’t to always go slow or always go fast; it’s to recognize the trade-offs and find your sweet spot between control and expression.
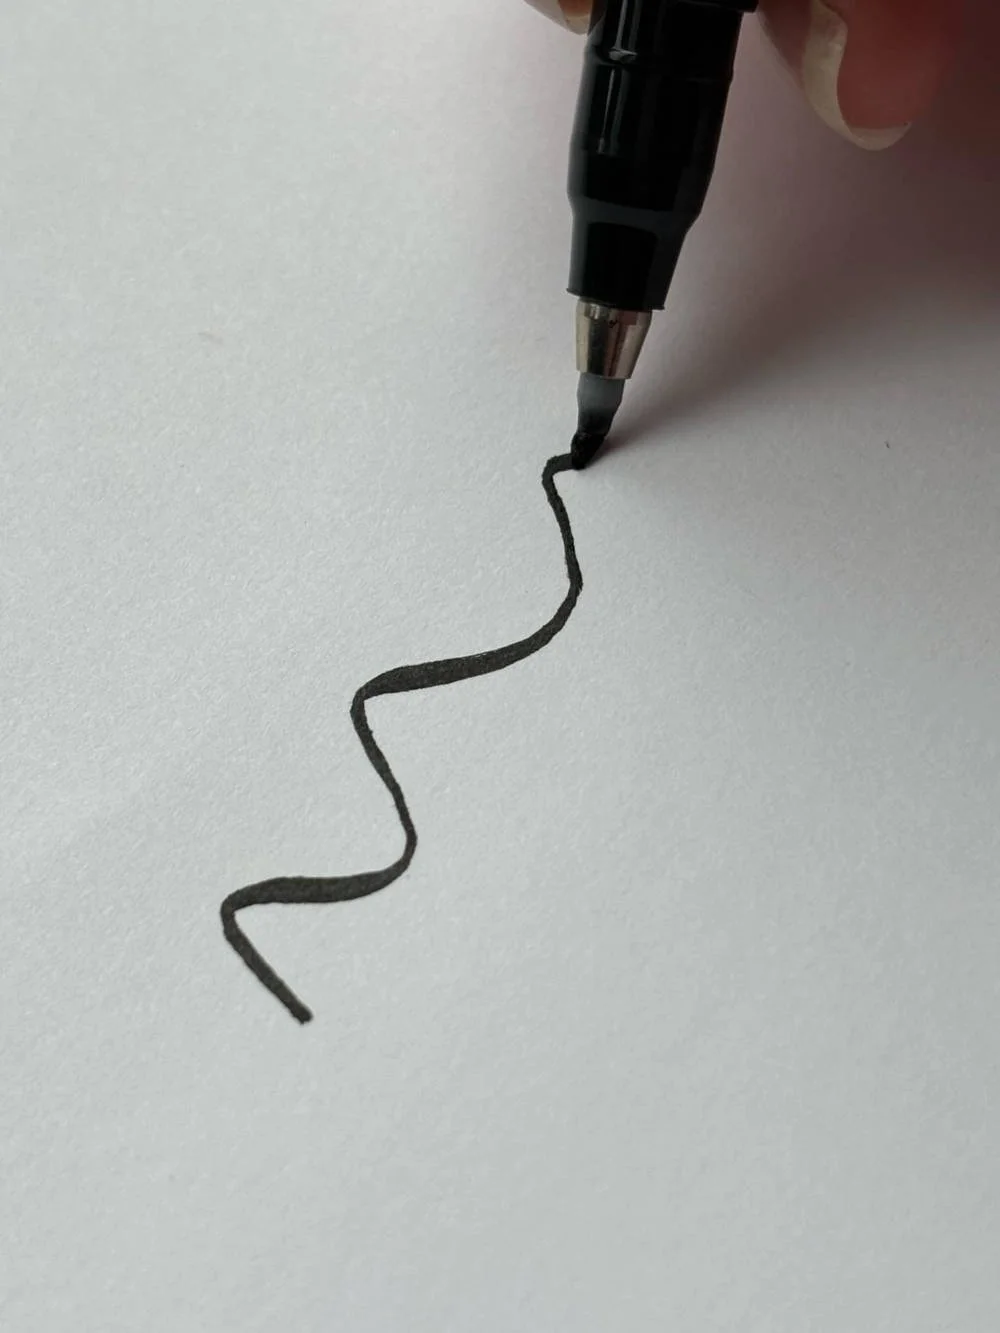
9. Exercise Bounce Lettering Lines
The Exercise: Draw a row of letters or strokes that alternate up and down (like bouncy “hello”). This exercise is great for modern lettering styles and energy.
Purpose: Get comfortable with playful rhythm and baselines
Modern calligraphy often features playful, bouncy letters that break the baseline for artistic effect. This drill helps you get comfortable with that.
Write the same word or set of letters multiple times, experimenting with “bouncing” certain characters lower or higher than others. Focus on maintaining consistent spacing and proportions, even when the baseline shifts.
It takes some getting used to, but this practice will improve your ability to create visually interesting lettering compositions without sacrificing legibility.
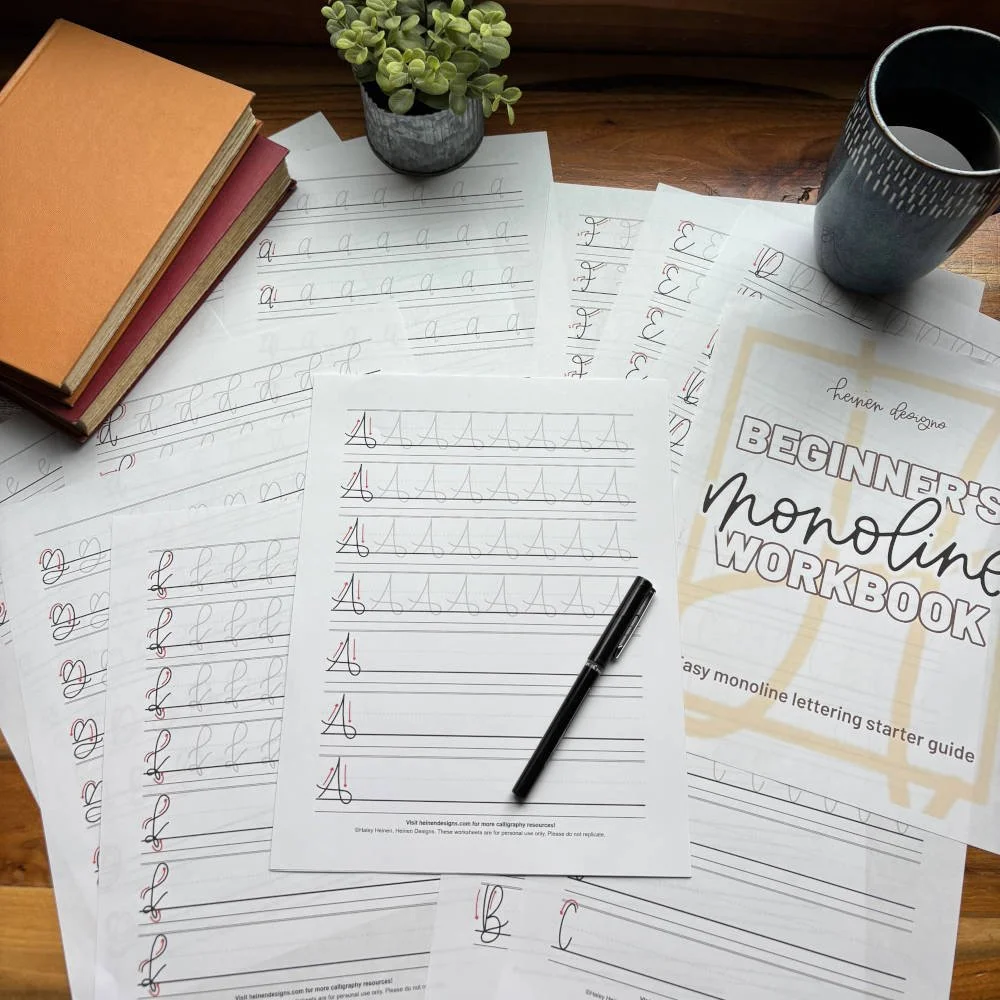
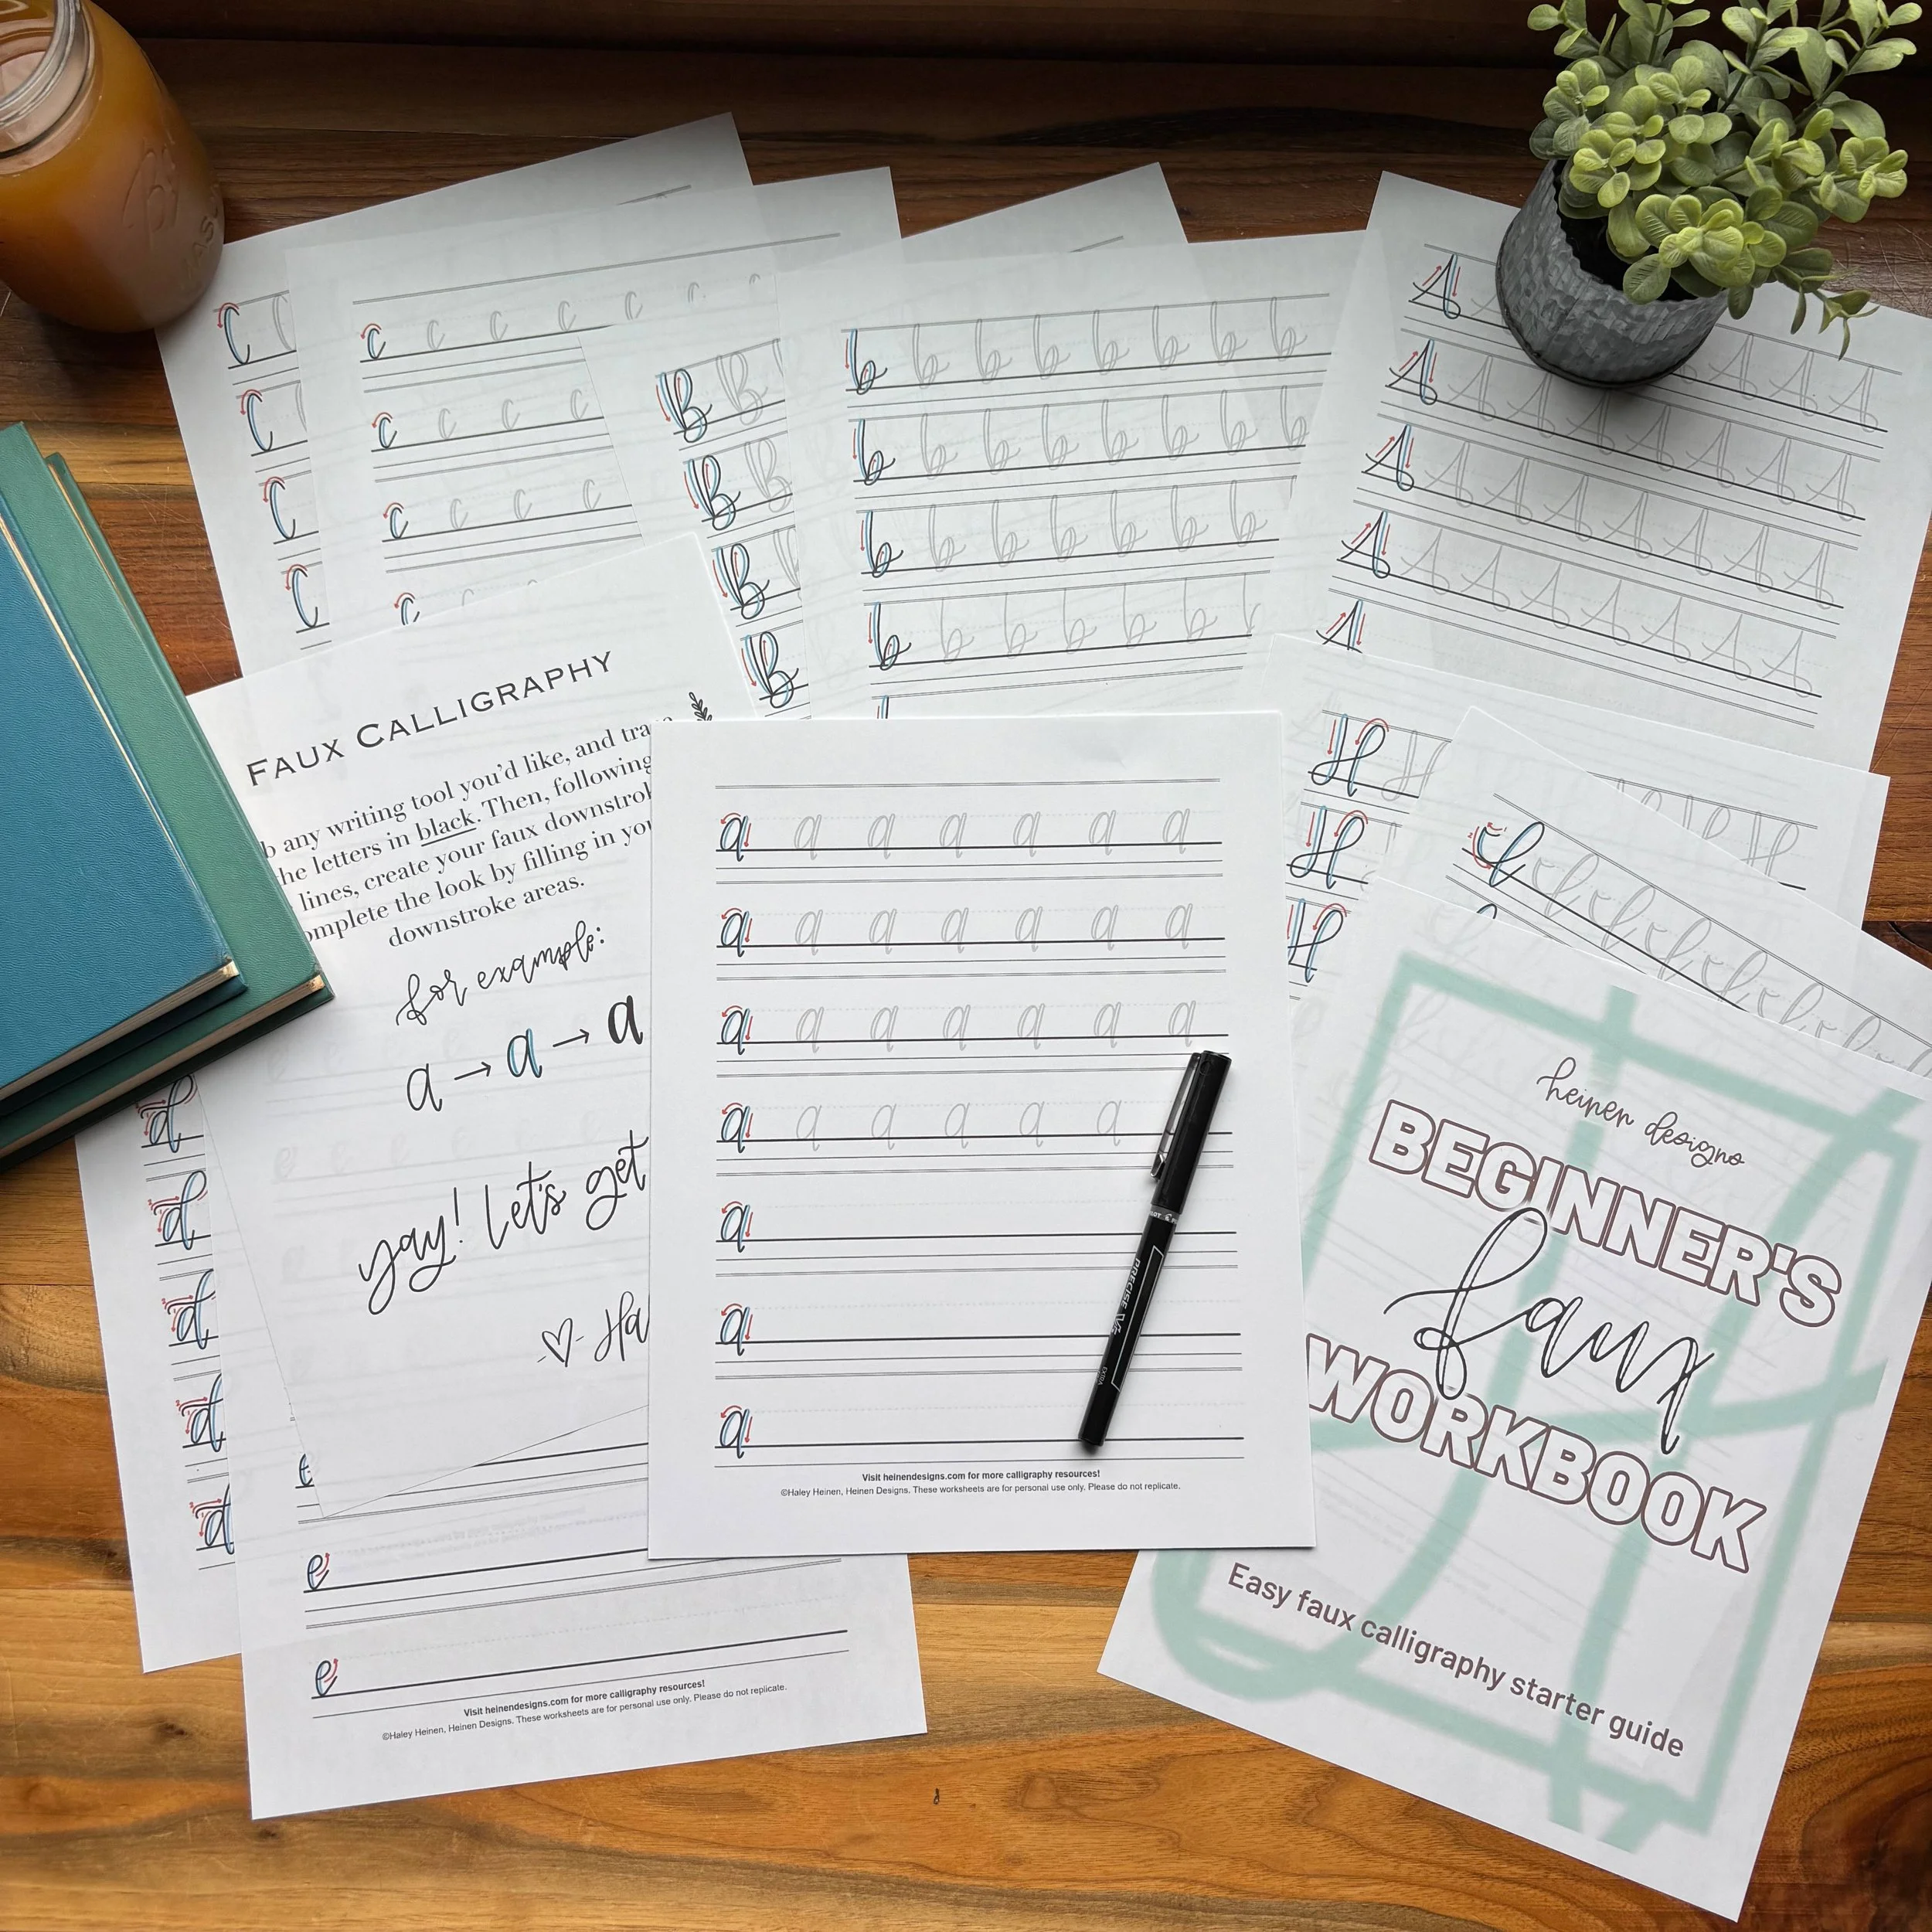
10. Exercise a Custom Alphabet Drill
The Exercise: Choose 3–5 letters you struggle with and repeat them slowly, one line each. This targeted drill helps you improve faster on your weak points.
Purpose: Focus on letters you want to improve
This exercise is personalized to your needs and changes as you grow. Choose three to five letters that you struggle with or want to improve, and dedicate a full row or two to each one. Practice them slowly, examining the shape, balance, and stroke order.
This targeted repetition helps break bad habits and reinforce correct muscle memory. Over time, you’ll see these once-difficult letters become strengths in your work. This is one of the most effective drills for leveling up your skills where it counts most.
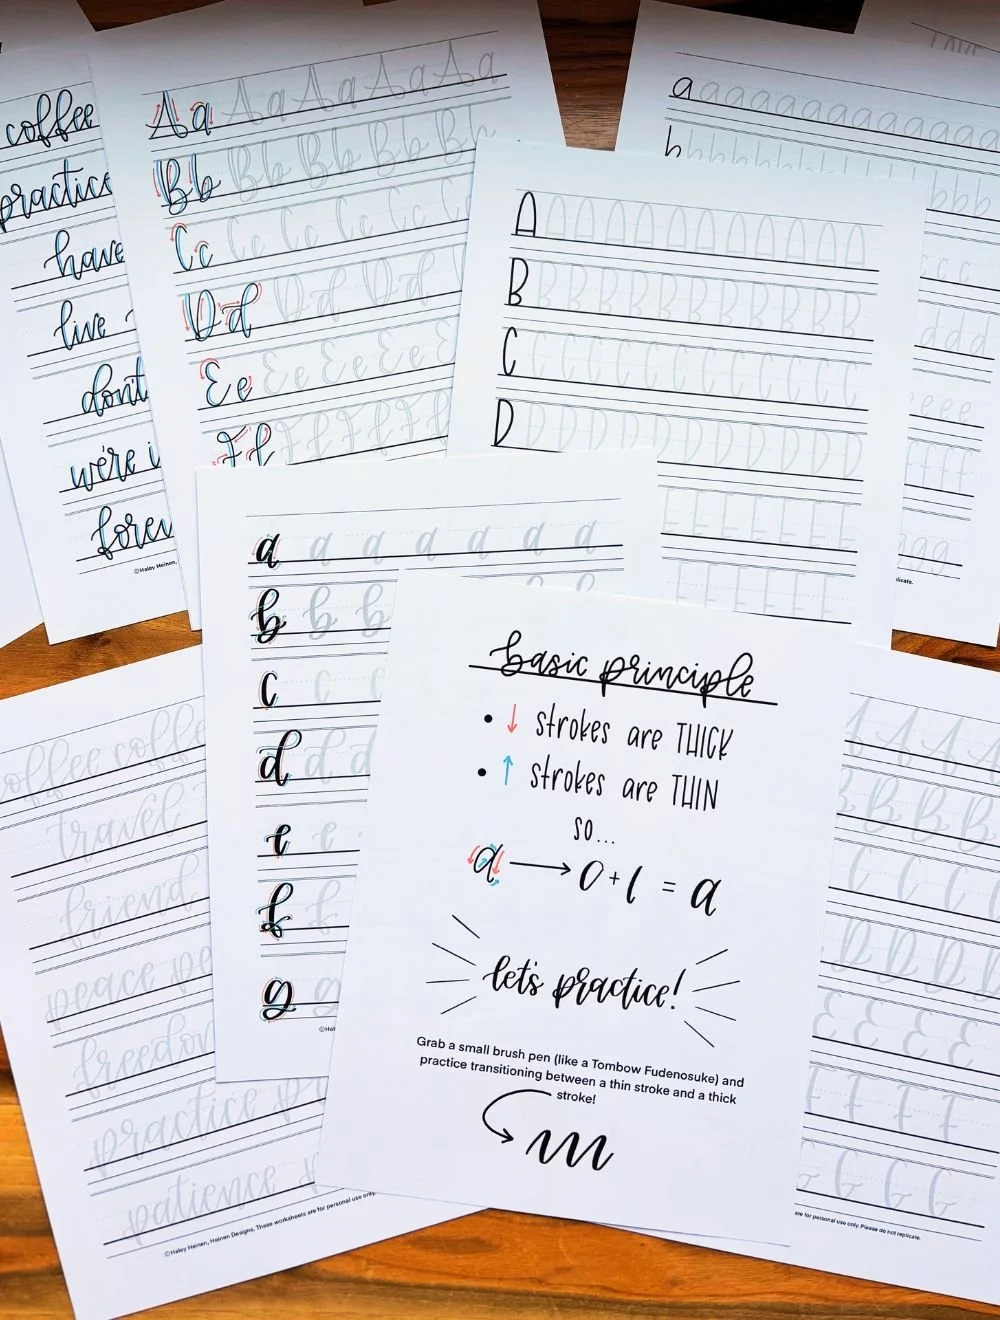
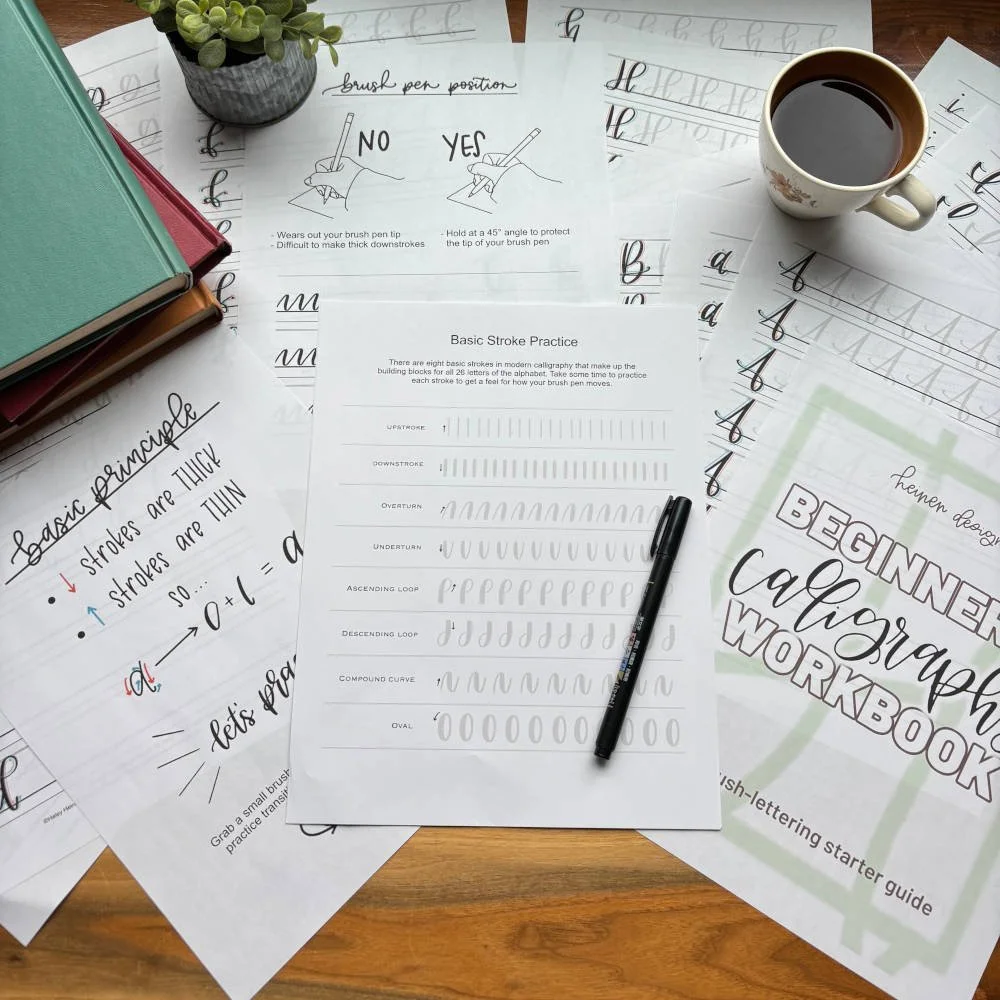
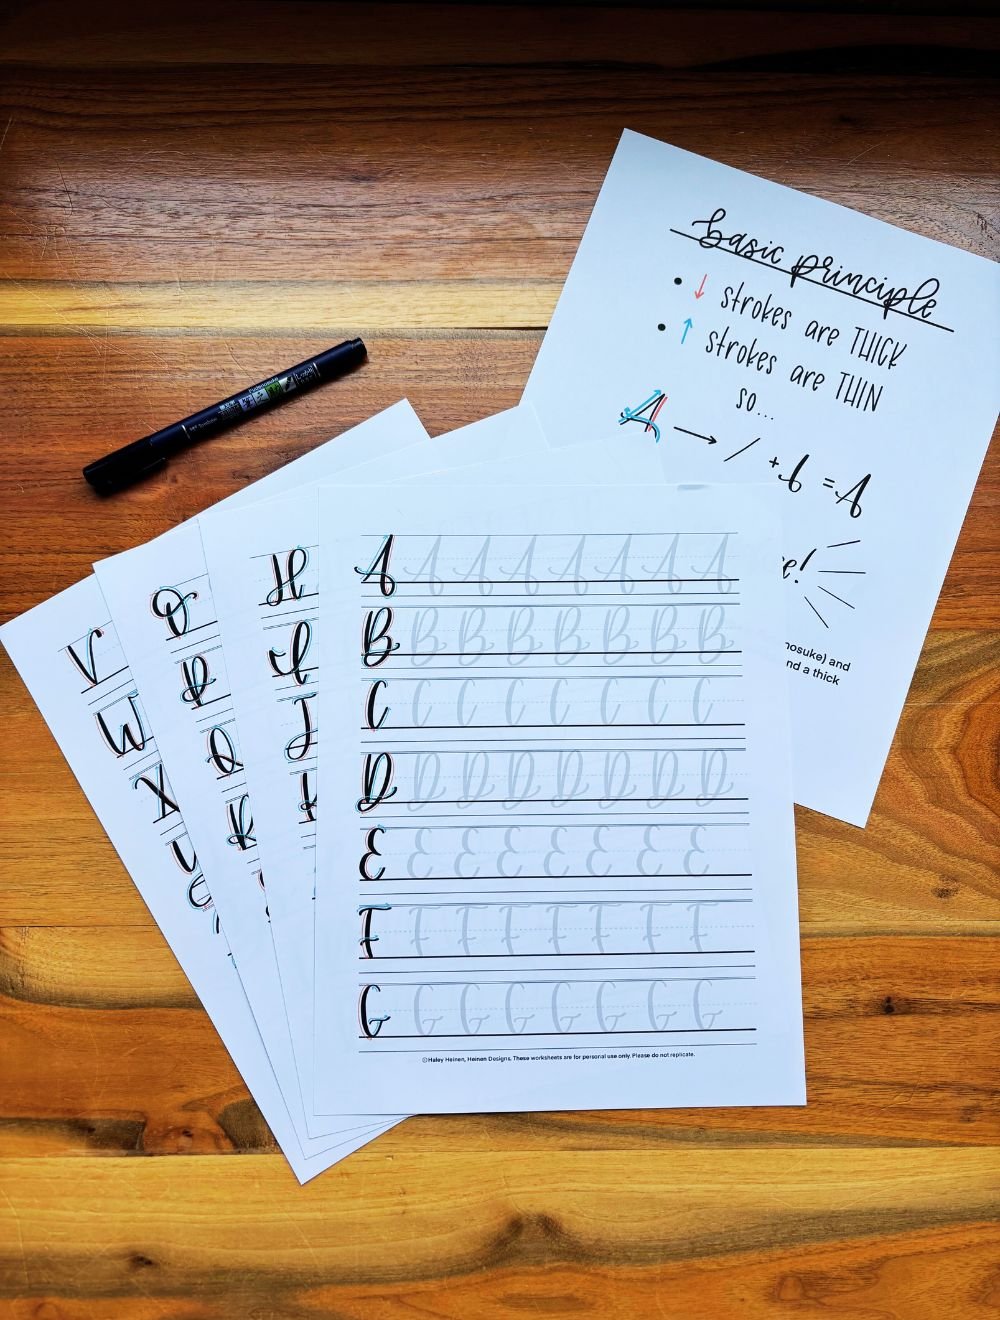
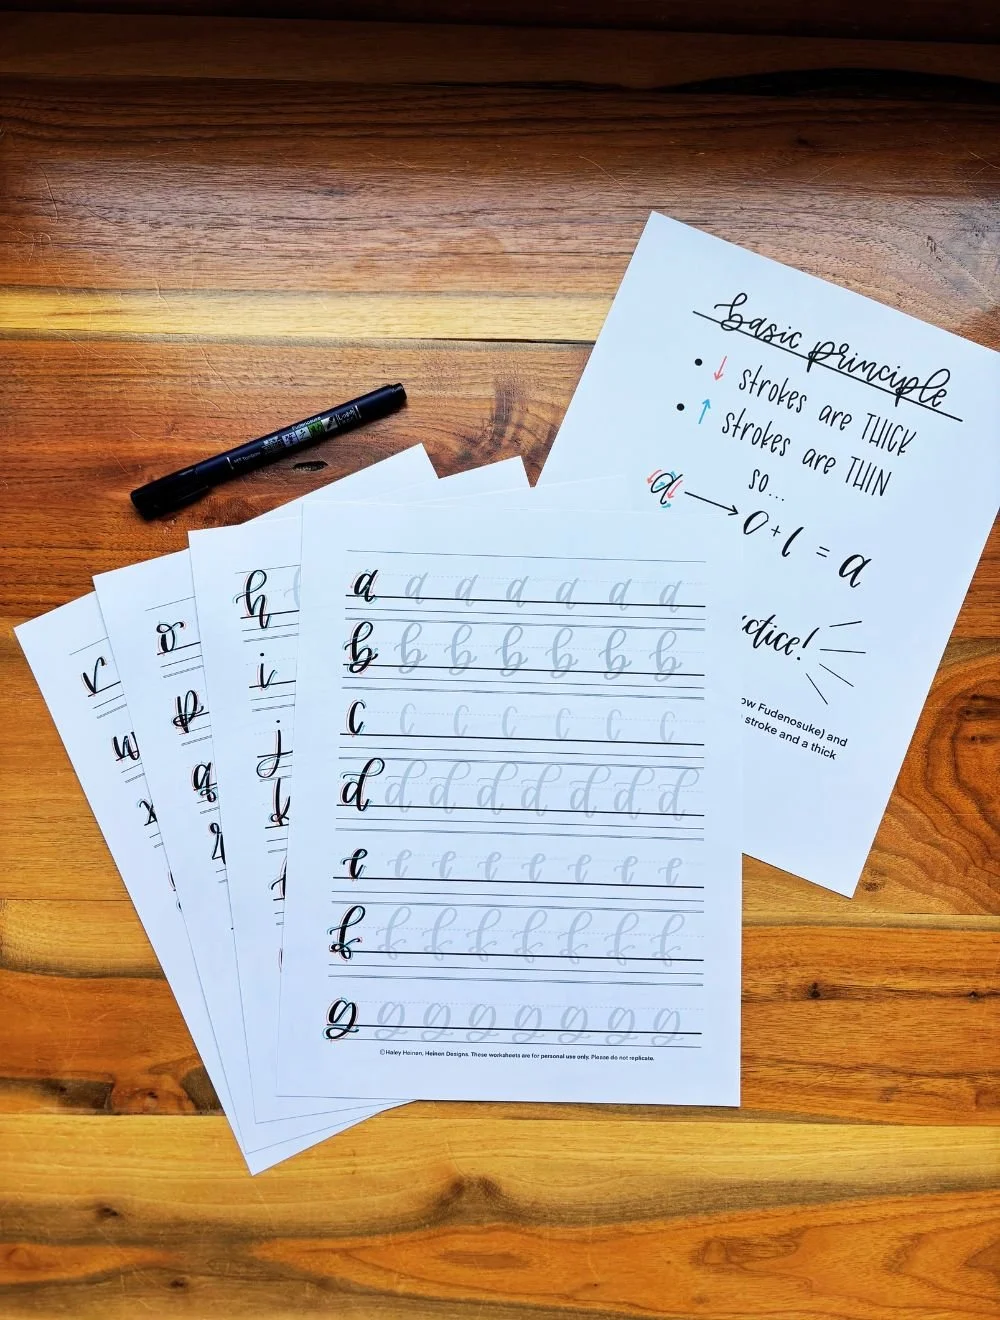
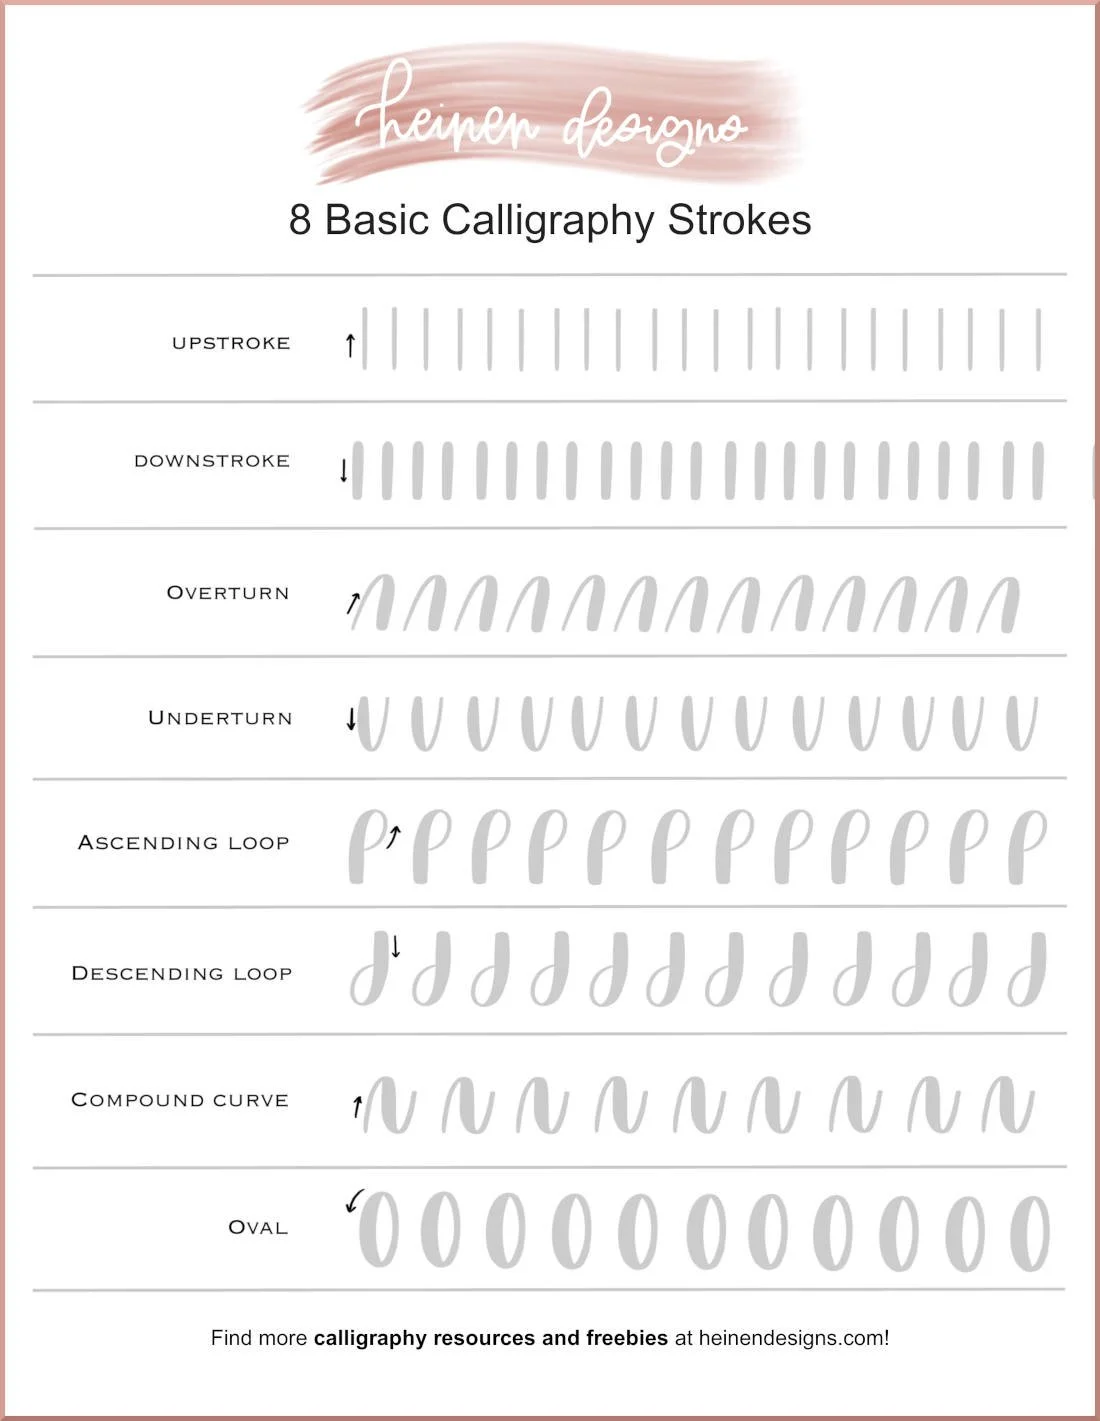
11. Exercise the Eight Basic Strokes of Calligraphy
The Exercise: Practice the eight essential strokes used in traditional script styles, repeating each one across the page multiple times.
Purpose: Strengthen your mastery of fundamental letter-building strokes
In calligraphy, especially in traditional and modern script styles, nearly every letter is built from a combination of eight basic strokes. Practicing these regularly helps train your hand to create consistent, confident letterforms. The basic strokes include the upstroke, downstroke, underturn, overturn, compound curve, oval, ascending loop, and descending loop.
Practice each stroke individually in rows, focusing on stroke direction, pressure control, and shape. Keep the size consistent and use guide lines if needed. Once you’re comfortable with these strokes, you’ll find building letters becomes far more natural and intuitive, because you’ve trained your hand to already “know” them.
How to Add These Drills to Your Routine
Choose 2–3 exercises to do before each session.
Spend just 5–10 minutes warming up—no need to overdo it.
Rotate through all 11 over the course of a week.
Keep your warm-ups in a sketchbook so you can see your progress over time.
Ready to start warming up? Download this free printable worksheet (also great for Procreate!) that includes all eight basic strokes repeated multiple times, so you can practice with structure and consistency.
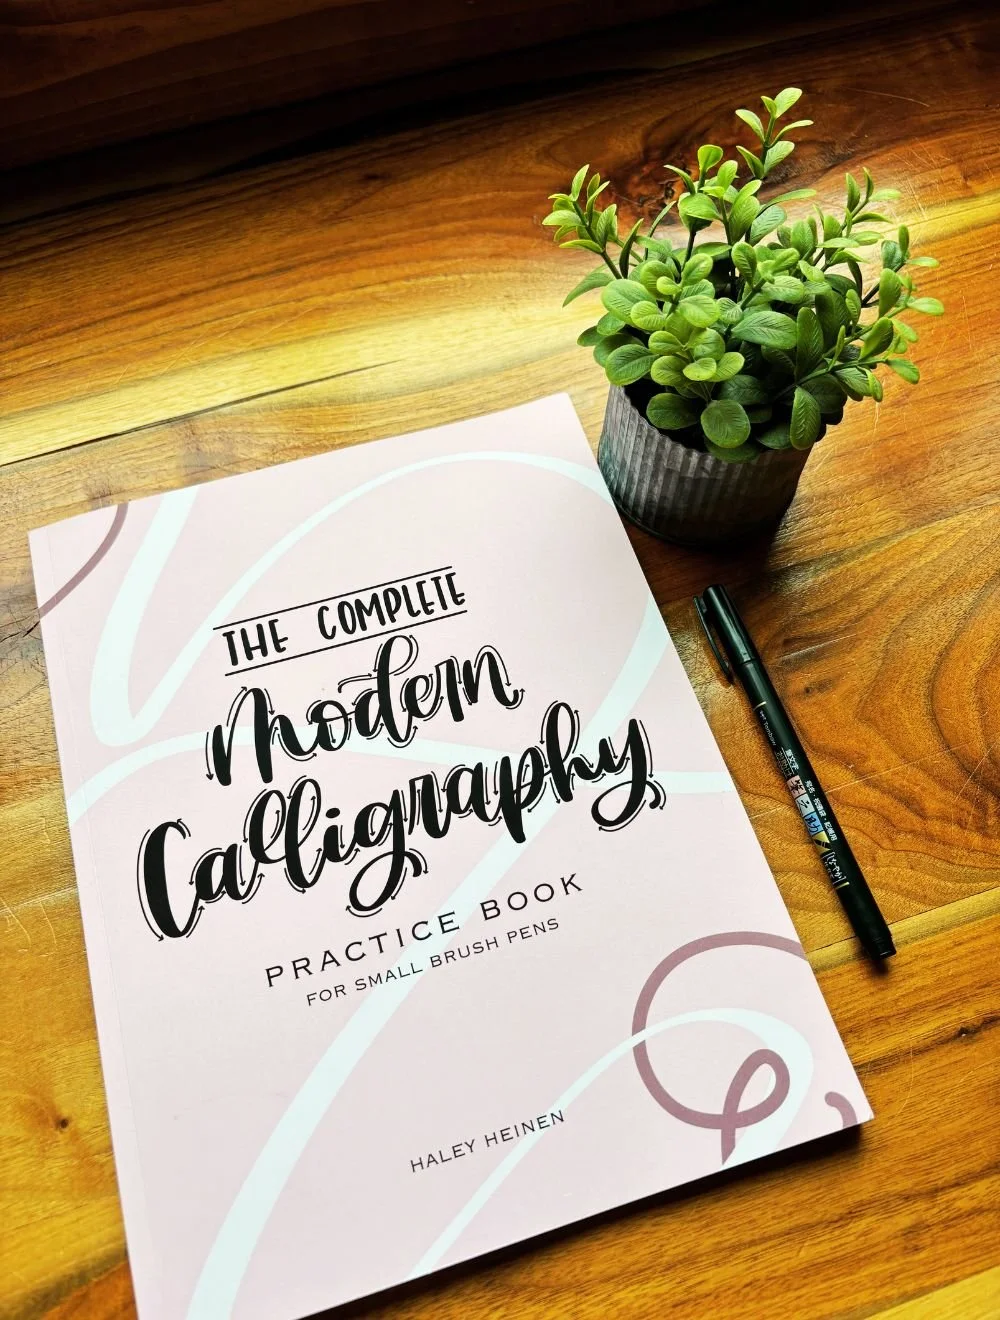
Looking for a More Structured Path?
The Lettering Leap™ course by Heinen Designs takes you from beginner to confident calligrapher in just 30 days, 10 minutes per day. It combines warm-up exercises, basic strokes, and real letters and words into each lesson, providing a structured and easy-to-follow path toward lettering confidence.