How to Hold a Calligraphy Pen the Right Way

If you’re new to calligraphy and your letters feel shaky, uneven, or hard to control, the problem might not be your pen. It might be how you’re holding it.
Your grip plays a huge role in how your strokes flow across the page. Whether you're using a brush pen, a monoline pen, or some other pen to craft your letters, learning how to hold your pen the right way can make your practice smoother, your hand more relaxed, and your lettering more consistent.
In this guide, we’ll walk through exactly how to hold a calligraphy pen, what to avoid, and how to develop a comfortable, confident grip.
Tap to jump to a topic:
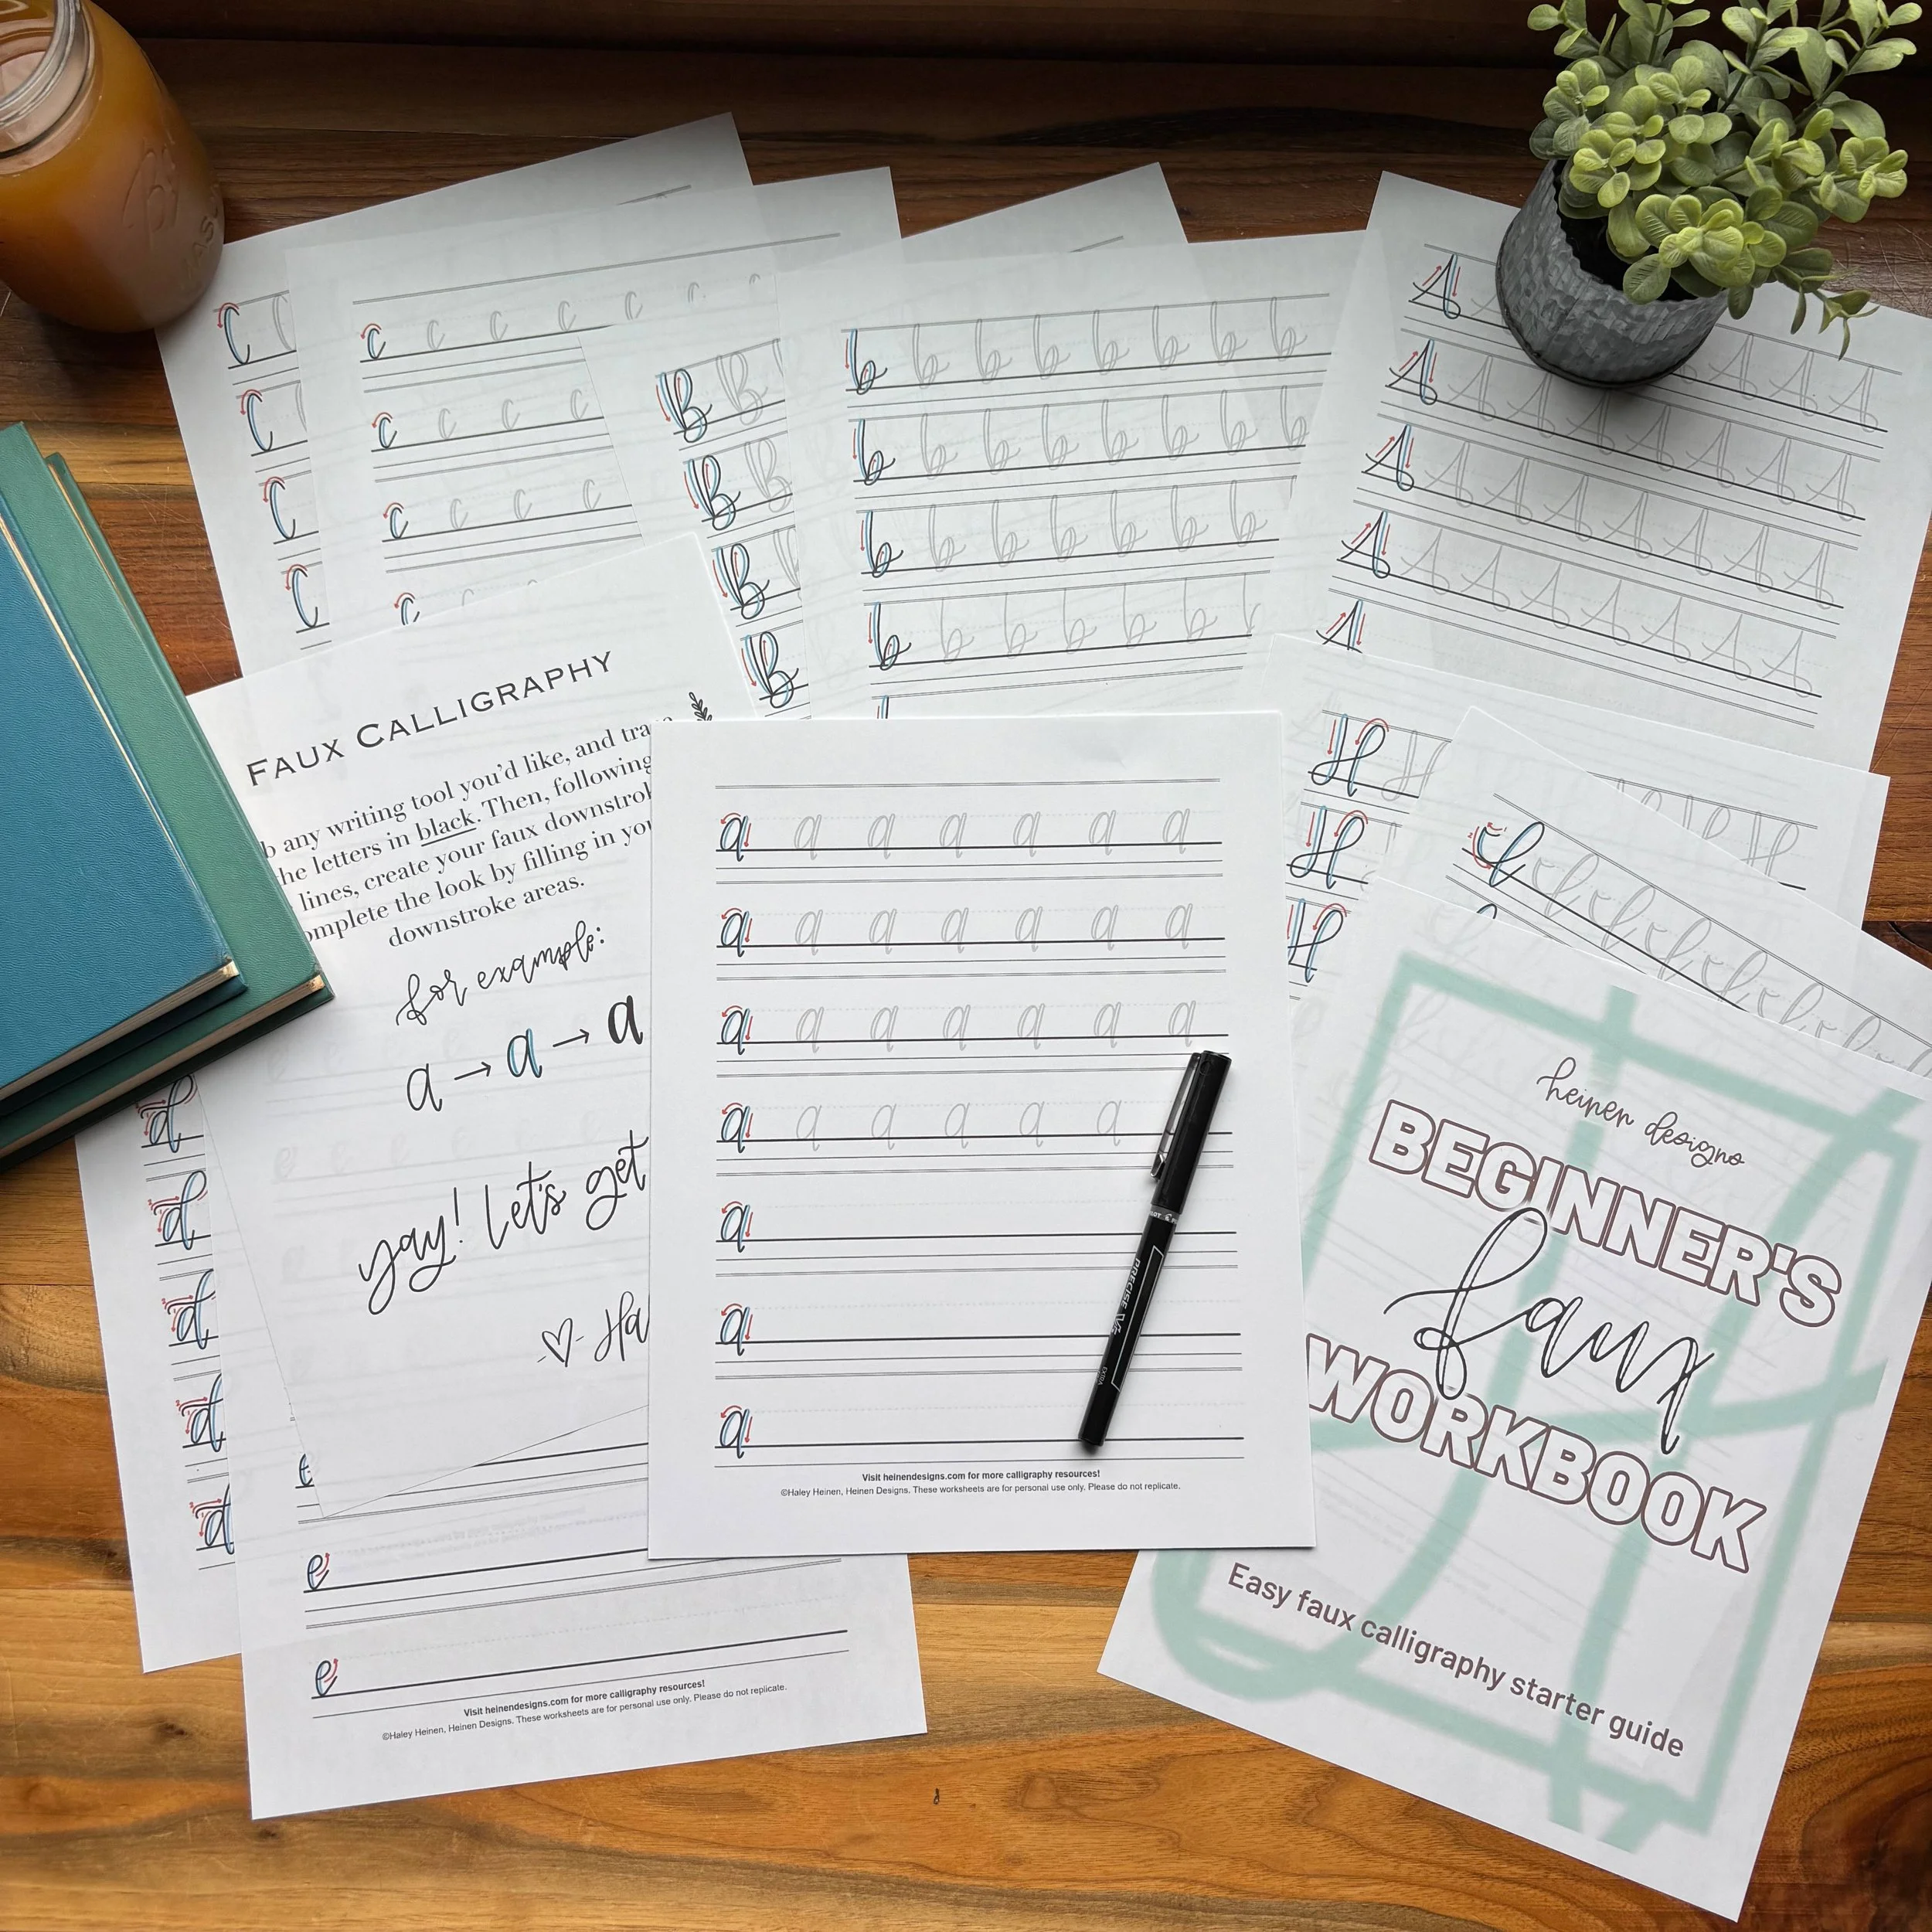
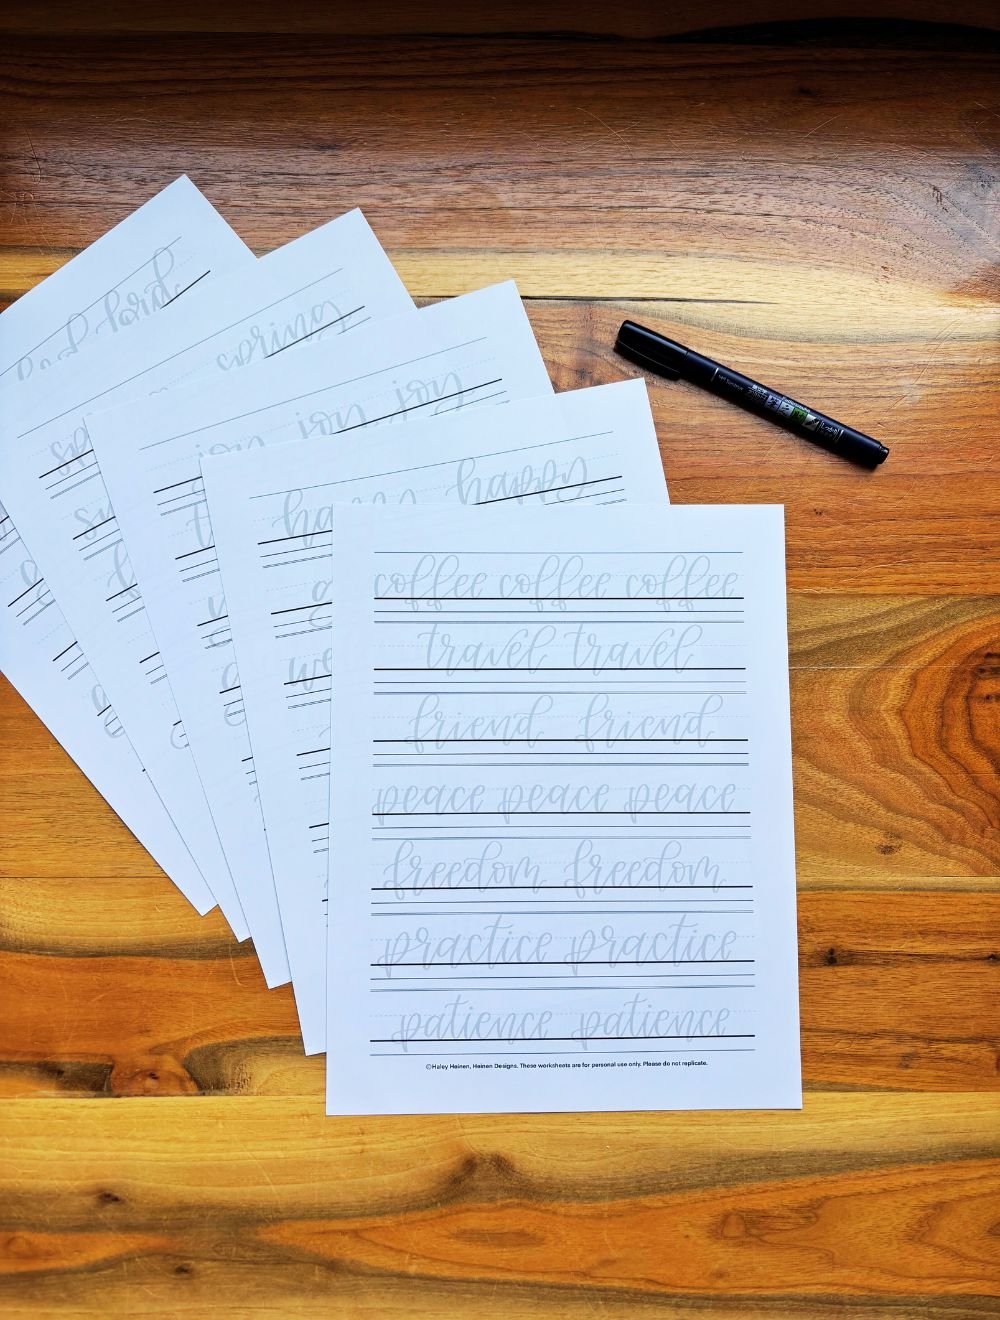
Be sure to grab your FREE download before you go!
Why Pen Grip Matters in Calligraphy
When you’re learning calligraphy, it’s easy to focus on what your letters look like — are they smooth enough, even enough, stylish enough? But before you can get your letters right, you need to get your grip right. How you hold your pen affects almost every part of your lettering: your control, your pressure, your comfort, and even your confidence.
You don’t need a “perfect” grip to make beautiful letters, but you do need one that gives you:
Control over your strokes
Consistency in your pressure and angles
Comfort during longer sessions
Poor grip often leads to:
Cramped fingers
Uneven stroke thickness
Wobbly lines
Hand or wrist fatigue
The good news? A few small adjustments can completely change the way your pen moves—and how your letters turn out.
The Basics: How to Hold Any Calligraphy Pen Comfortably
Before you dive into different types of pens, it’s important to understand some universal principles that apply to almost any hand-lettering or calligraphy tool. Whether you’re using a simple fineliner, a brush pen, or even a traditional dip pen, these fundamentals will help you hold your pen in a way that’s comfortable, efficient, and easy to control.
1. Use a Relaxed, Natural Grip
The most important thing to remember when holding a calligraphy pen is: Don’t grip the pen like you're hanging on for dear life. A tense grip leads to shaky strokes, muscle fatigue, and a frustrating writing experience. Instead, aim for a grip that’s secure but gentle. Hold the pen between your thumb and index finger, with the barrel resting lightly on your middle finger. Think: firm enough to control it, but gentle enough to let it glide. You want just enough pressure to keep control — nothing more.
If your fingers feel cramped or your knuckles are turning white, take a break and shake it out. The more relaxed your hand, the smoother your lines will be.
2. Hold the Pen at the Right Distance
Where you hold the pen along its barrel affects how much control you have. For precise strokes, it’s usually best to hold the pen about one inch to an inch and a half from the tip. This gives you a clear view of your work while keeping your movements stable.
Brush pens often benefit from a slightly looser grip farther back, which allows more natural motion and better pressure control. Feel free to experiment a bit until you find the balance between comfort and control.
3. Maintain a Consistent Pen Angle
One of the most overlooked aspects of pen grip is angle. The ideal angle between your pen and the paper is usually between 45° and 55°, depending on your tool. This angle gives you the best combination of control and flow. This is especially important when you’re working with pens that respond to pressure.
Holding the pen too upright can make your strokes feel stiff or cause the tip to skip. Holding it too flat may reduce ink flow or smear your work. Practice holding your pen at a moderate slant and keep it consistent as you move through each stroke.
4. Tilt Your Paper for Natural Movement
Your grip doesn’t exist in isolation. How you position your paper matters too. Most right-handed calligraphers find it easier to write with their paper tilted about 30° to 45° counterclockwise, while left-handed writers often tilt it slightly clockwise.
Tilting your paper (or tablet) helps align your strokes with the natural arc of your hand and arm. It also reduces wrist strain and keeps your lettering looking uniform across different lines and angles. Try writing with a flat sheet versus a tilted one. You’ll probably notice a big difference.
5. Let Your Whole Arm Help
One of the most common beginner habits is writing entirely from the fingers. While that works for quick notes, it limits your range of motion and causes fatigue. In calligraphy, it’s much more effective to write using a combination of your wrist, forearm, and even your shoulder, especially for longer strokes.
Let your arm guide the motion while your fingers and wrist provide finesse. This might feel awkward at first, but it’s a crucial step in developing smooth, confident lettering that doesn’t wear your hand out.

How to Hold Different Types of Calligraphy Pens
Different calligraphy tools require slightly different approaches when it comes to grip and posture. A brush pen doesn't behave like a fineliner, and a traditional dip pen has its own set of quirks entirely. Understanding how to adjust your grip depending on the tool you're using will make your practice feel more intuitive and your strokes more consistent.
Let’s break it down by the three most common types of calligraphy pens.
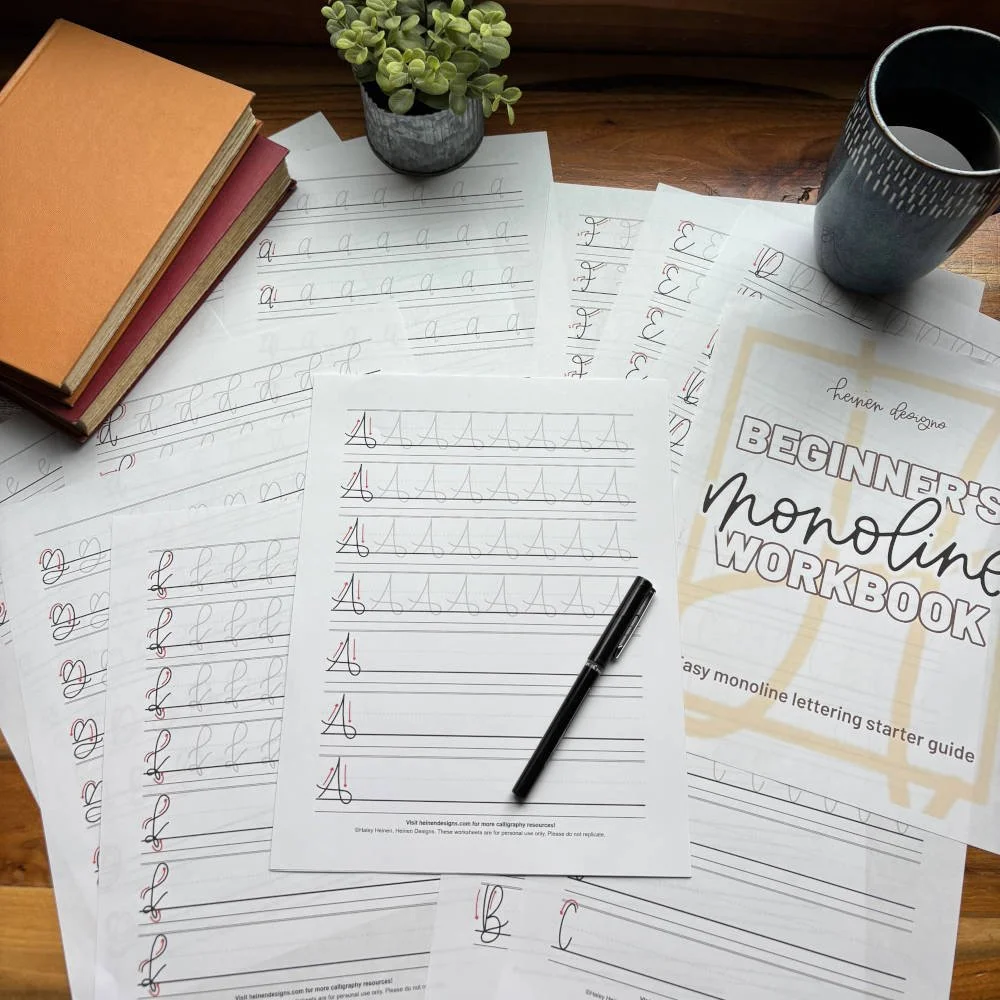
Monoline Pens & Fineliners
Monoline pens (such as fineliners or gel pens or even simple ballpoint pens) are the easiest pens to start with because they don’t require pressure control. Every stroke is the same thickness. They are perfect for beginners because they don’t require any pressure variation. That means every line you draw will be the same thickness, which makes it much easier to focus on your letter shapes and stroke direction without worrying about upstrokes or downstrokes.
How to Hold a Monoline Pen:
Grip the pen close to the tip for control
Keep the pen almost upright or at a slight angle
Use short, steady strokes as you focus on form and spacing
Monoline Pens Are Great for:
Monoline calligraphy
Faux calligraphy
Practice drills and warm-ups
When using a monoline pen, hold it closer to the tip — about an inch above the writing point — for maximum control. Keep the pen mostly upright, or tilted just slightly to one side if that feels more natural. The goal is to maintain a steady hand and consistent rhythm, since line weight isn’t a factor.
This type of grip works well for faux calligraphy, block lettering, and structured warm-ups where precision matters more than style. If you're brand new to hand-lettering, monoline pens are an excellent tool to build muscle memory and stroke confidence before jumping into more dynamic tools.
Brush Pens
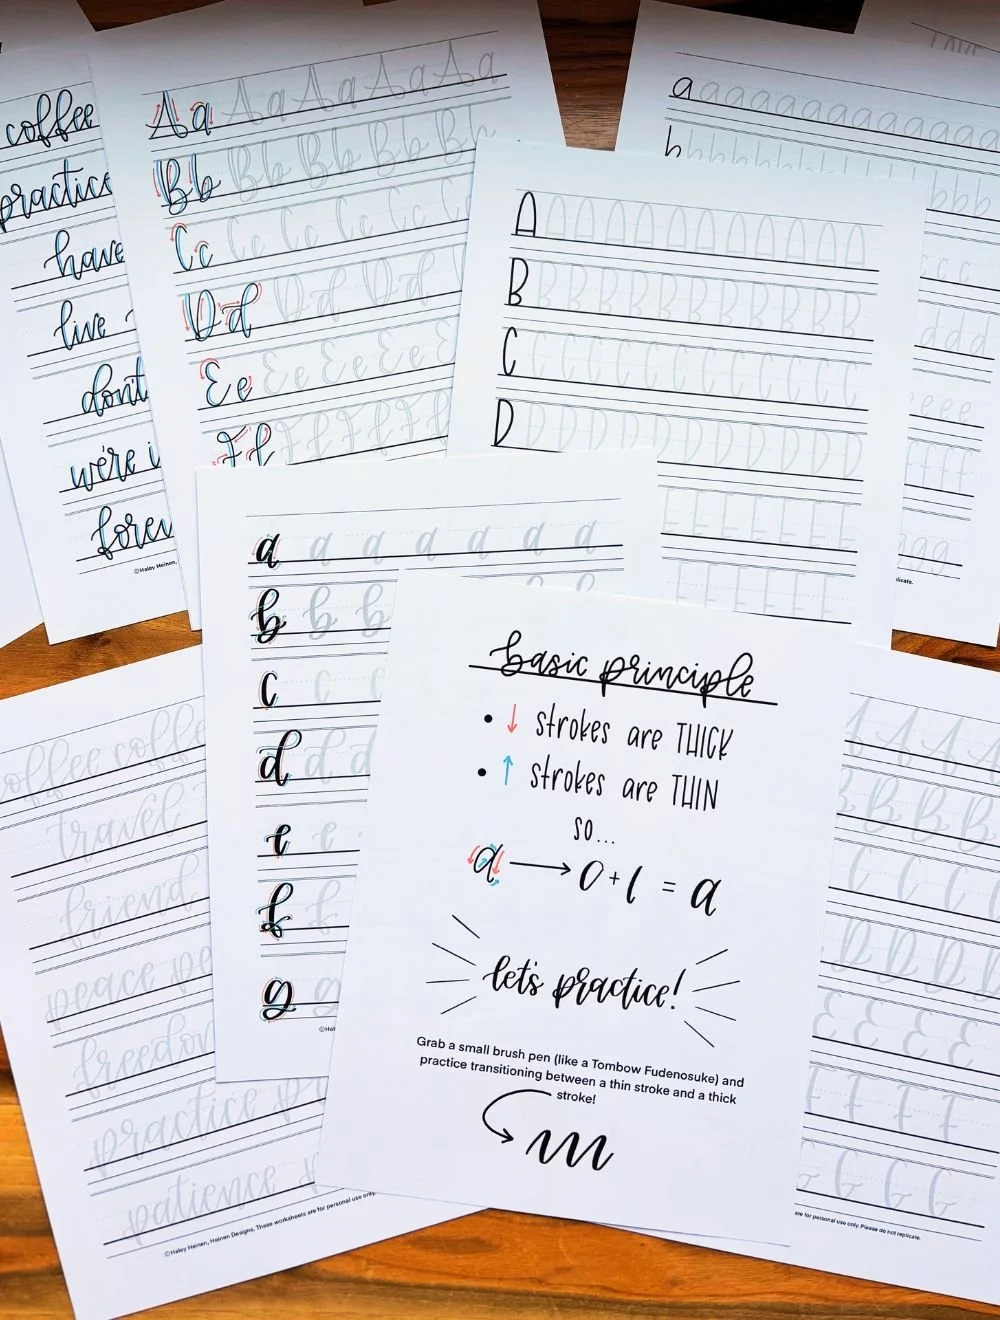
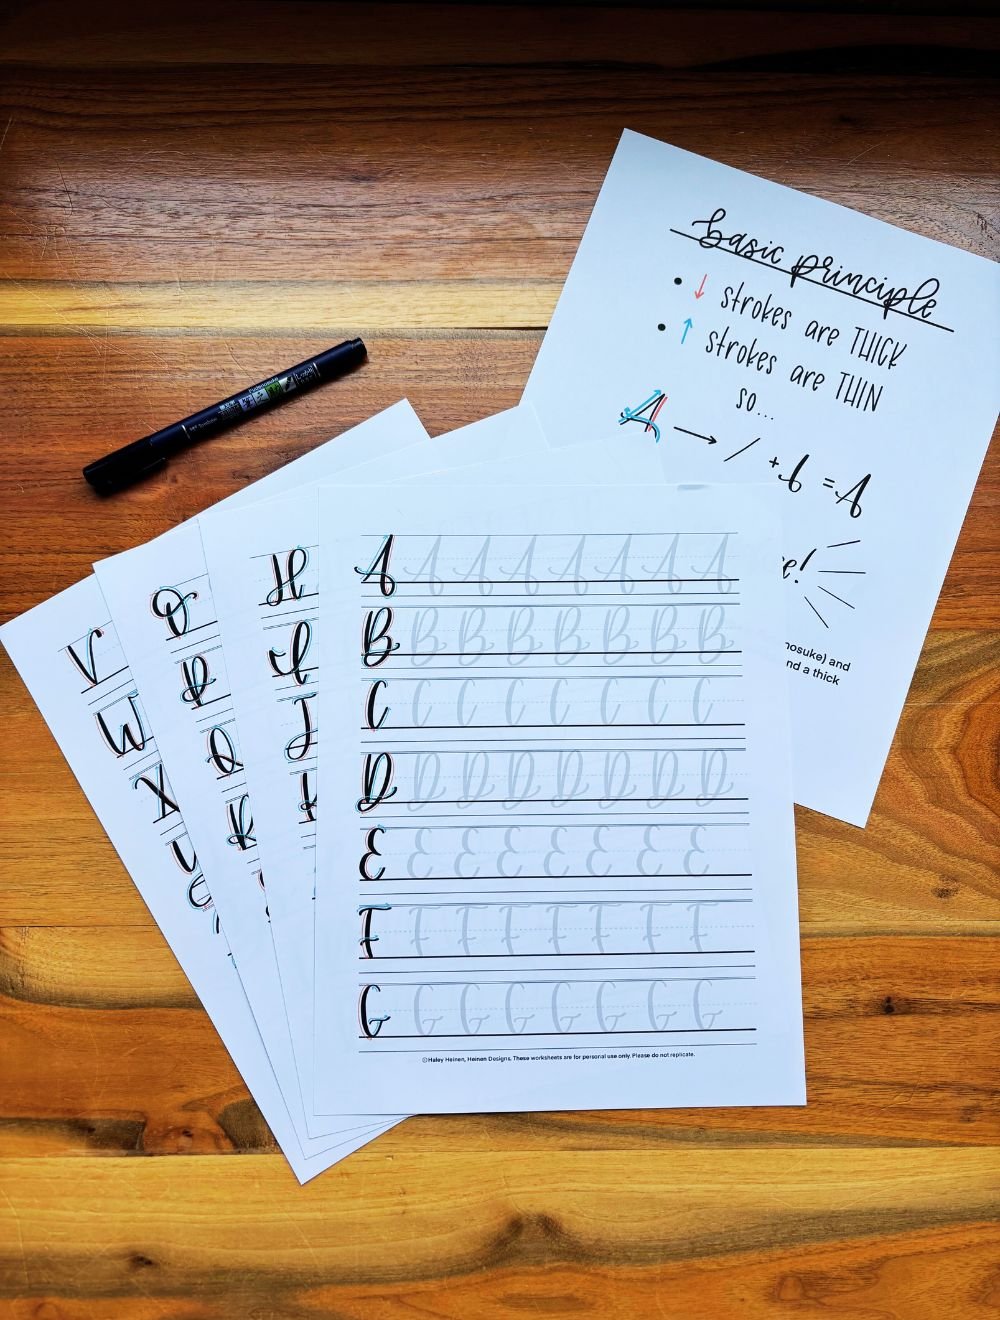
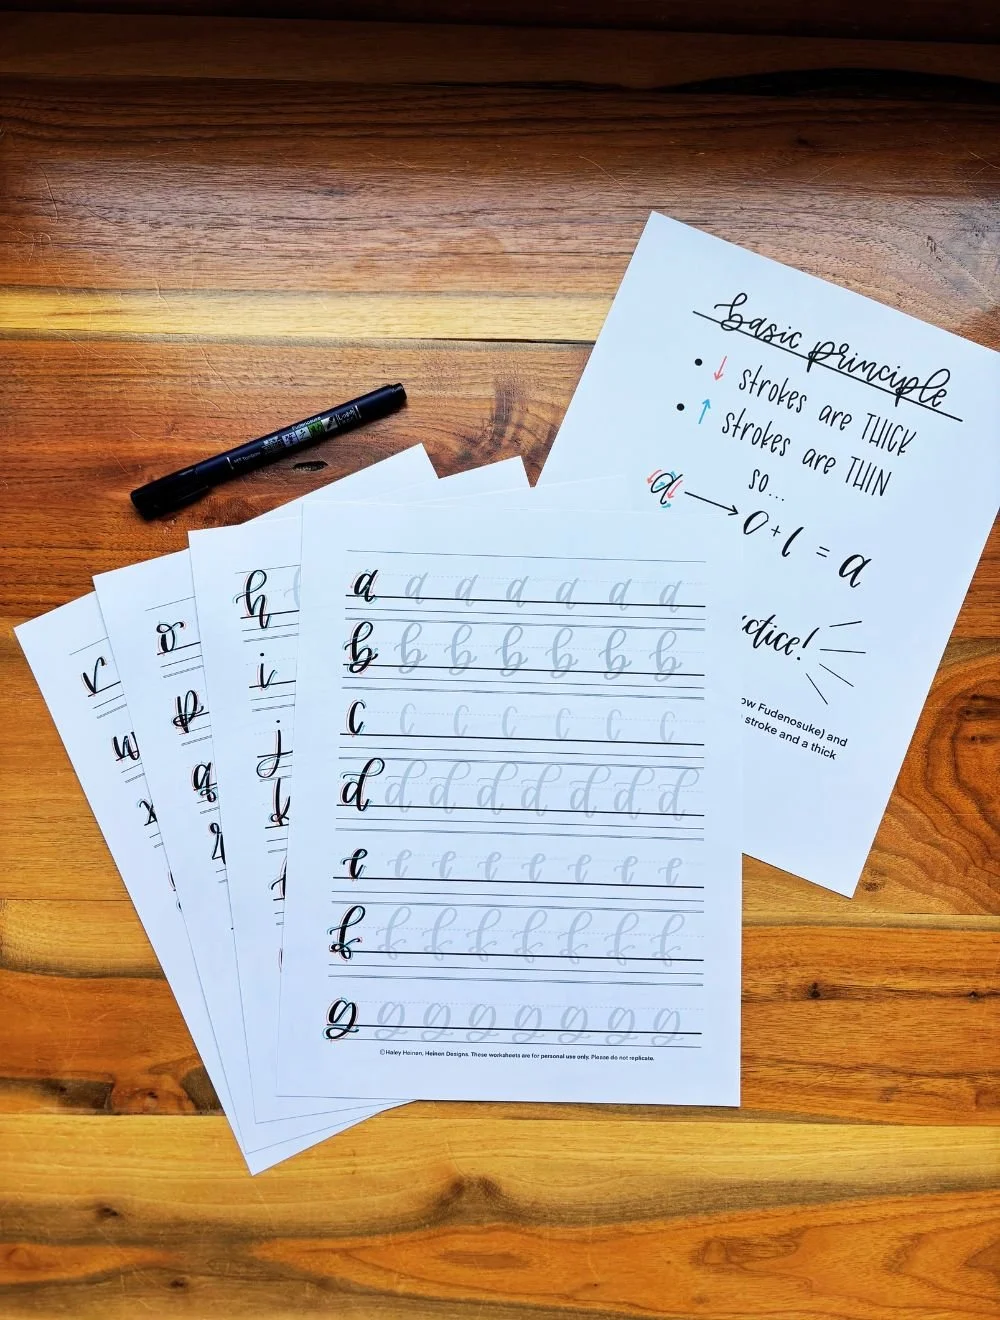
Brush pens introduce pressure sensitivity into the mix, which is what gives brush lettering its signature contrast between thick downstrokes and thin upstrokes. Holding a brush pen properly is all about balance. You need enough control to guide the strokes but enough freedom for the brush tip to flex and respond to pressure.
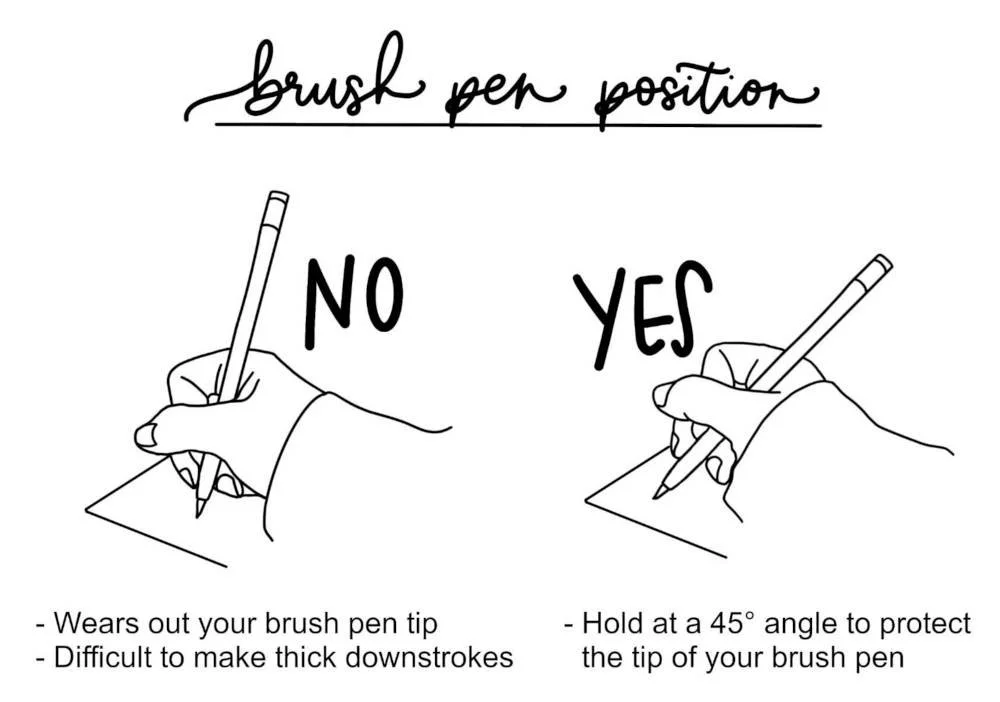
How to Hold a Brush Pen:
Grip a little farther back from the tip — this gives you more control over pressure
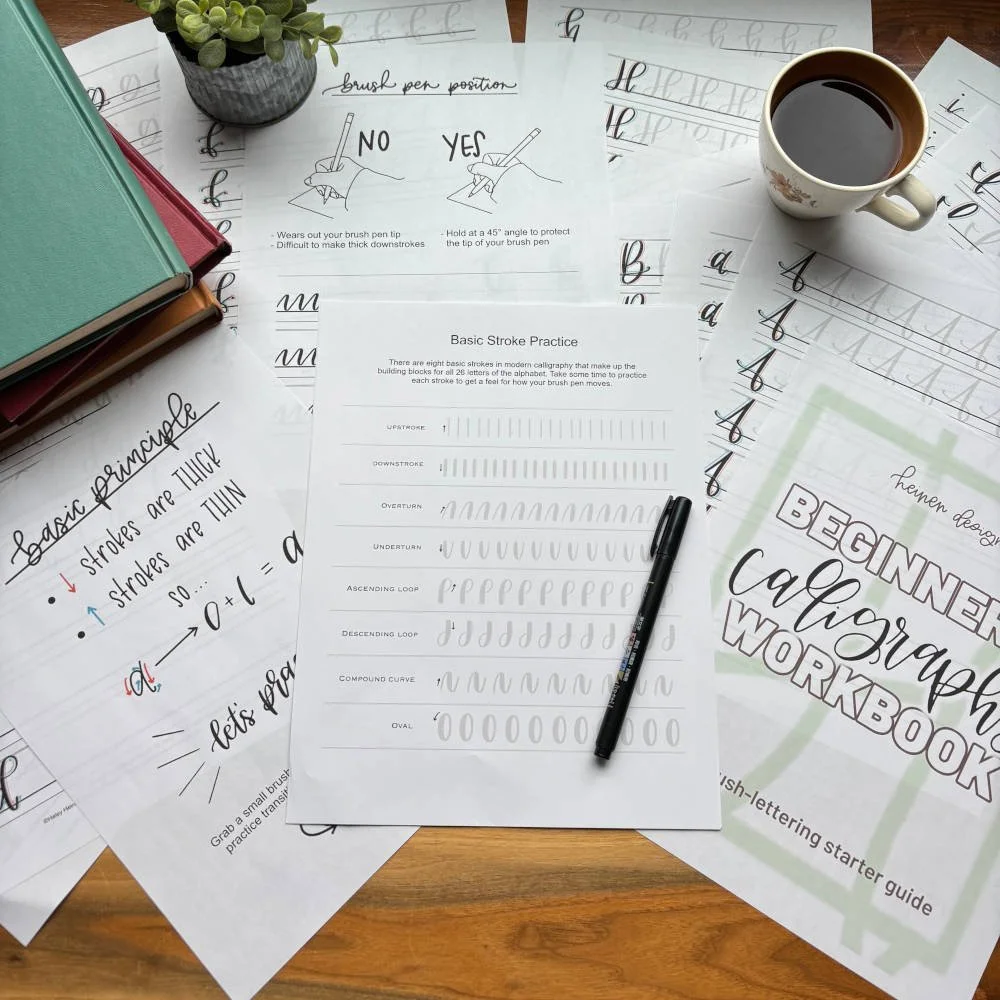
Keep your wrist relaxed and avoid bending it too much
Maintain a 45° angle between the pen and paper
Don’t “write” like a normal pen — press and release with intention
Brush Pens Are Great for:
Brush lettering
Modern calligraphy
Bounce lettering
Script styles with stroke contrast
Unlike monoline pens, you’ll want to hold a brush pen a little farther back from the tip, about 1.5 to 2 inches. This allows your hand to move more fluidly, which is key for the sweeping curves and transitions brush lettering is known for. A tighter grip near the tip can actually limit the brush’s flexibility, leading to shaky or inconsistent strokes.
Aim for a 45° pen angle and keep your wrist neutral, not bent upward or twisted. Let the movement come from your arm and shoulder, especially for larger strokes or capital letters. Press gently on downstrokes to create thick lines, and ease off on upstrokes for thin, delicate curves. It takes some getting used to, but the right grip makes a huge difference in how clean and expressive your brush lettering becomes.
Dip Pens & Nibs
Dip pens are more sensitive than brush pens and require precise control over pressure and angle. These are generally used in traditional calligraphy, so we will not cover them as extensively here.
How to Hold a Dip Pen:
Hold the pen at a consistent 45° angle to the paper
Make sure the nib slit faces straight down the page, not sideways
Don’t press too hard — let the nib glide
Avoid twisting the pen as you write
Dip Pens Are Great for:
Traditional pointed pen calligraphy
Advanced projects with ink variation
Common Mistakes Beginners Make with Pen Grip
Many times, mistakes in your calligraphy aren’t a reflection of your natural talent or even your pen; the issue has to do with how you're holding the pen. Grip mistakes are incredibly common for beginners, and the good news is that most of them are easy to fix once you know what to look for.
Avoid these common issues that can slow down your progress.
Mistake #1: Gripping Too Tightly
This is by far the most common issue. When you're learning something new, it’s natural to tense up, but holding your pen in a death grip will only make your strokes shaky, uneven, and exhausting. A tight grip reduces your hand’s ability to move fluidly and causes muscle fatigue quickly, which can cut your practice session short.
Fix it: Try holding your pen just firmly enough that it won’t slip out of your hand. If you feel tension in your wrist, hand, or shoulder, pause and shake it out. Over time, aim for a grip that feels like you're loosely holding a paintbrush, not clenching a chisel.
Mistake #2: Holding the Pen Too Close to the Tip
Gripping your pen right near the writing point gives you a false sense of control, but it can actually make it harder to create smooth, graceful lines, especially with tools like brush pens. Holding too close restricts your range of motion and makes you rely too much on finger movement, which can lead to shaky, uneven strokes.
Fix it: Slide your grip back about an inch to an inch and a half from the tip. This gives your wrist and arm more freedom to guide the pen, allowing for smoother transitions and more expressive letterforms.
Mistake #3: Using Only Your Fingers to Write
This is another habit that carries over from regular handwriting. In cursive or printing, we tend to use just our fingers and wrist. But calligraphy often requires longer, flowing strokes, and that’s hard to do with only finger movement.
Fix it: Practice engaging your whole arm when you write. Rest your forearm lightly on the table and let it move as you form letters. Your fingers still play a role, but think of your arm and shoulder as the steering mechanism. This distributes movement more evenly and helps avoid fatigue.
Mistake #4: Not Adjusting Your Paper Angle
Flat, horizontal paper might work for note-taking, but it’s not ideal for calligraphy. Keeping your paper straight can cause your hand to contort awkwardly, forcing you to write at unnatural angles that make it harder to keep consistent strokes.
Fix it: Rotate your paper to match the natural slant of your hand. Right-handed writers often benefit from tilting the paper about 30–45° counterclockwise, while left-handed writers may prefer a slight clockwise tilt. This simple adjustment allows for smoother arm motion and helps your letters flow more naturally across the page.
Mistake #5: Ignoring Discomfort or Strain
If your hand or wrist starts to hurt after just a few minutes of practice, something’s off. Many beginners try to push through discomfort, thinking it’s just part of the process, but ignoring that pain can lead to long-term issues.
Fix it: Take frequent breaks and pay attention to how your body feels. If you're experiencing soreness, check your grip tension, your posture, and how long you’ve been practicing without resting. Small changes in your grip or paper position can make a big difference in how comfortable calligraphy feels.
How to Practice the Right Grip
Once you understand the fundamentals of proper pen grip, the next step is building good habits through mindful, consistent practice. Just like with letterforms, grip technique improves through repetition and body awareness. By dedicating a little time to grip-specific exercises, you’ll start to feel more comfortable and in control, making the rest of your calligraphy journey much smoother.
Here are a few ways to build better pen grip habits over time.
Start with Simple Warmups
Before you dive into letters or words, spend a few minutes doing warmup strokes with full focus on how you’re holding the pen. Use basic drills like loops, lines, and curves, not to practice lettering itself, but to observe your hand posture.
Ask yourself:
Are my fingers relaxed?
Am I applying even pressure?
Am I letting my arm move, not just my fingers?
Doing this regularly will train your body to default to a more relaxed, functional grip, even when you’re not consciously thinking about it.
Use a Mirror or Record Yourself
Sometimes it’s hard to notice what your hand is really doing until you can see it from another perspective. Setting up a phone to record your hand while writing, or using a mirror positioned beside you, can give you helpful feedback. Watch how your fingers move, how tense your grip looks, and whether your pen angle changes as you go.
Even a short clip of your hand in motion can help you spot small adjustments that improve comfort and control.
Use Grid or Dotted Paper
Practice on grid or dot paper to keep your strokes aligned, and use the printed lines as a reference for both pen angle and stroke direction. This reduces the mental effort of spacing and frees you up to focus more on how the pen feels in your hand. Over time, that builds consistency.
Pro tip: Draw a small arrow in the margin to remind yourself of your ideal pen angle for that practice session. Visual cues help reinforce muscle memory!
Do Short, Focused Sessions
Instead of long, exhausting practice sessions, try breaking your calligraphy time into shorter bursts — around 10 to 15 minutes — with a specific focus on grip and movement. Set a timer and spend that time doing just a few drills or words while being fully present to how your hand feels.
It’s better to have 5 minutes of good practice than 30 minutes of unfocused repetition with poor grip.
Check In with Yourself Often
Every few minutes, take a second to pause and check your hand. Are you starting to tense up? Has your pen drifted into a steeper angle? Is your wrist locked in place?
These little “body scans” help you correct habits before they become deeply ingrained. Even experienced calligraphers pause frequently to re-center their grip, so don’t feel bad if it takes constant reminders at first. That’s completely normal.
Be Patient & Kind to Your Hands
Finally, remember: improving your grip is not a one-and-done task; it’s a gradual process that gets easier with time. You might have some days where your grip feels clumsy or awkward again. That’s okay. What matters most is staying aware and making small adjustments as you go.
Over time, the right grip will become second nature, and you’ll be able to focus fully on the joy of creating beautiful letters without overthinking how you’re holding the pen.
Troubleshooting if It Still Feels Awkward…
If your hand-lettering practice feels uncomfortable, frustrating, or just off, chances are it's an issue with your grip, pen angle, or posture. Use this checklist to quickly diagnose and fix the most common beginner problems:
My hand feels stiff or sore after a few minutes.
Loosen your grip, take breaks often, and stretch your fingers and wrists regularly.
My strokes are shaky or uneven.
Make sure you're not holding the pen too tightly. Slow down and try guiding the pen with your arm instead of your fingers.
My lines look wobbly and out of control.
Adjust your grip slightly farther back from the tip and let your forearm help with movement.
The ink skips or doesn't flow smoothly.
Check your pen angle (aim for 45°), switch to smoother paper, or clean your nib or brush tip.
My letters are inconsistent or slanted oddly.
Tilt your paper so your hand moves more naturally, and use guideline sheets to help with uniformity.
My pen scratches or snags on the paper.
Try reducing pressure and double-check your nib orientation, especially with dip pens.
My downstrokes don’t look bold enough.
Use a little more pressure on the downstrokes — especially with brush pens — and make sure your pen isn’t dried out.
I can’t see what I’m writing.
Move your fingers back on the pen so they’re not blocking your view of the nib or tip.
The pen feels hard to control during curves.
Loosen your grip slightly and slow down. Try using your whole arm for smoother motion.
My wrist feels locked or stuck.
Make sure you’re not anchoring your wrist. Lift and glide your arm across the page as needed.
I’m smudging my work as I write.
Adjust your paper angle and hand position. Left-handed writers especially may benefit from under-writing rather than over-writing.
I can’t keep a consistent pen angle.
Practice slow drills with straight guidelines and pause regularly to check how your pen is angled.
I’m pressing way too hard without realizing it.
Try some “light touch” drills. Make light strokes on purpose and build muscle memory for gentler pressure.
My practice sessions wear me out quickly.
Reduce session length to 10–15 minutes, focus on quality over quantity, and keep your body relaxed throughout.
The Right Grip Builds Confidence
There’s no one-size-fits-all grip, but there is a right way for you. With a few thoughtful adjustments, you can unlock smoother strokes, more control, and a more enjoyable lettering experience.
Practice regularly, listen to your body, and don’t be afraid to experiment until you find what feels right.
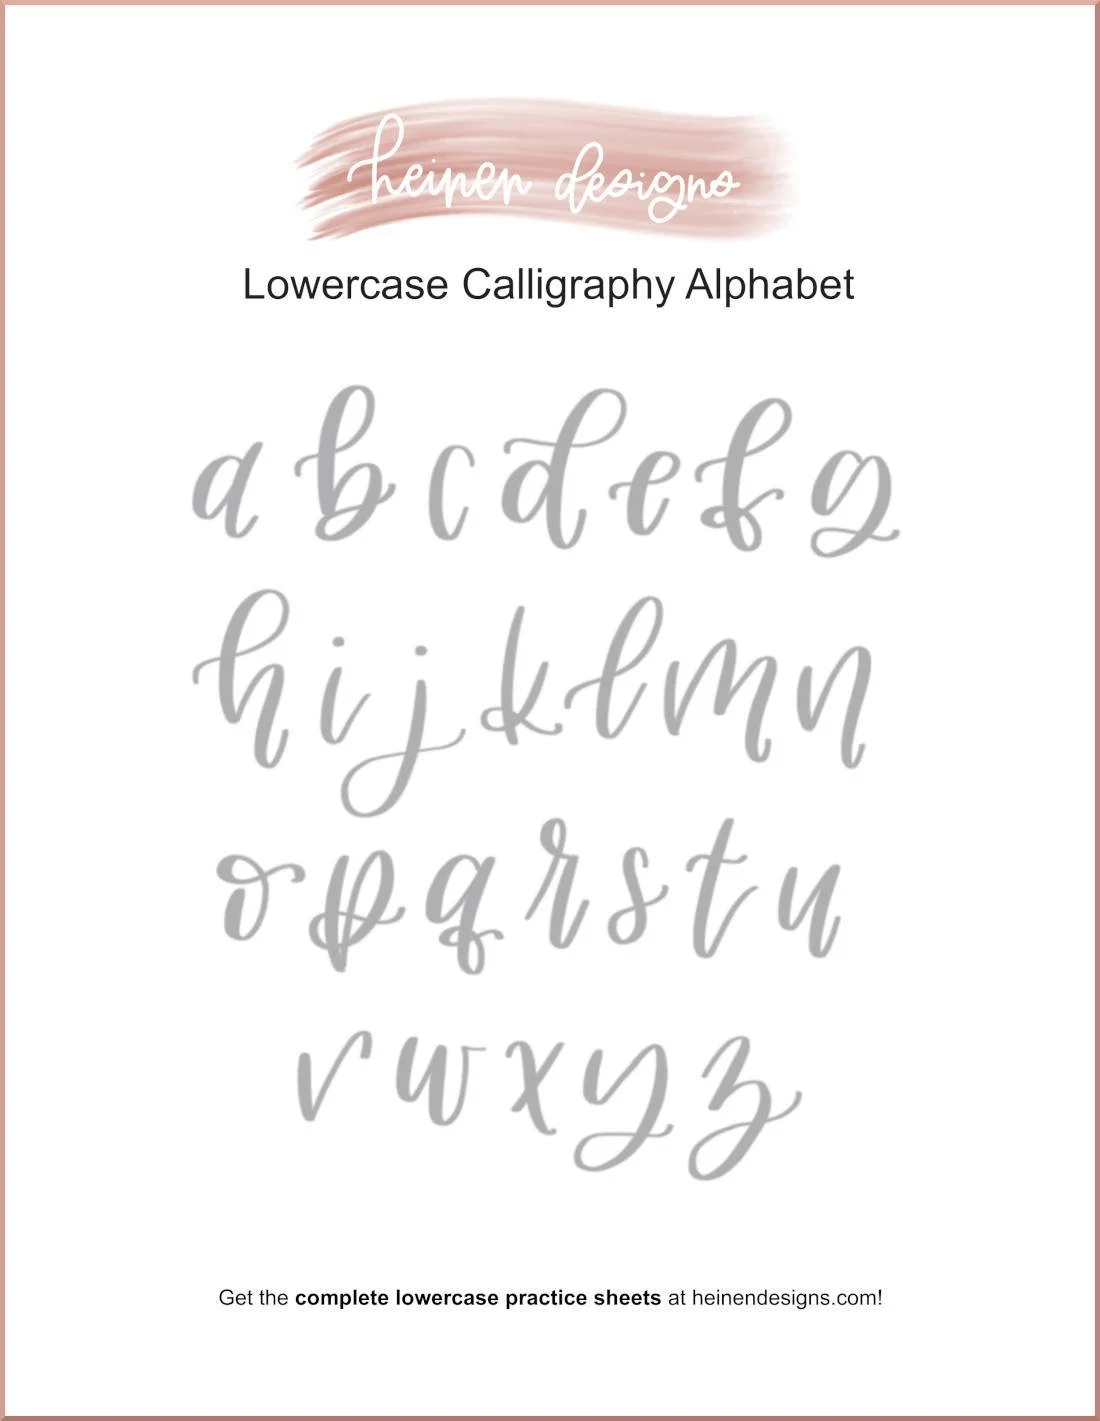
Ready to put your grip to the test?
Download our free lowercase calligraphy practice sheet to get started today, and feel the difference a confident grip can make.